
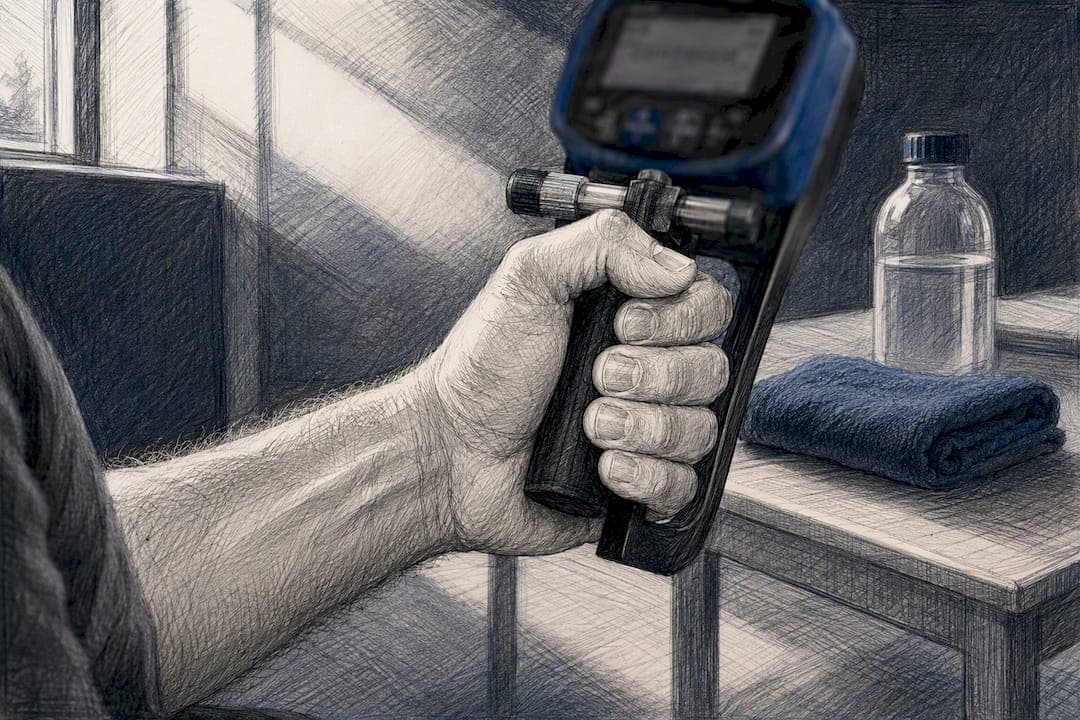
Small hand grip testing works best with a seated dynamometer protocol: feet flat, shoulder relaxed at the side, elbow bent at 90 degrees, forearm neutral, wrist in slight extension. Set the handle to the second position (or note whichever position actually fits the hand), squeeze for 3 to 5 seconds, and repeat for 3 trials per hand with 15 to 60 seconds of rest between squeezes. Record both the highest value and the mean. Use a calibrated dynamometer, ideally the same device every session.
- Position: seated, elbow at 90°, wrist neutral to slightly extended
- Trials: 3 per hand, rest 15 to 60 seconds between each
- Record: peak and mean; note handle position used
Pro Tip: Before comparing two test sessions, check the device's minimal detectable change (MDC). A 3 kg jump on a small hand's reading can be noise, not progress, if it falls inside that device's MDC range.
Key Takeaways
Reliable small hand grip testing depends on a standardized seated protocol, a consistent device, and comparing results against minimal detectable change rather than raw numbers alone.
| Point | Details |
|---|---|
| Use the ASHT protocol | Seated, elbow at 90°, wrist neutral to slightly extended, 3 trials with 15 to 60 seconds of rest. |
| Log the handle position | Small hands often need the first or third handle rung; record it every time for valid comparisons. |
| Respect device bias | Some digital dynamometers underestimate strength by 4.5 to 8.5 kg versus the Jamar hydraulic standard. |
| Check MDC before celebrating progress | A score change only counts as real improvement once it exceeds the device's minimal detectable change. |
| Track with the DEXDIA GX | Bluetooth logging and symmetry analysis through Dexdia's app reduce manual errors and reveal genuine trends over time. |
Table of Contents
- Standardized Grip Strength Assessment Protocol
- What Do Your Grip Strength Results Actually Mean?
- At-Home Grip Strength Tests Without a Dynamometer
- Why Your Grip Strength Readings Are Inconsistent
- How Dexdia Supports Reliable Grip Strength Tracking
- What the Research Actually Supports, and What It Doesn't
- Get Consistent Grip Data With the Right Tools
- Sources
Standardized Grip Strength Assessment Protocol
Grip strength assessment technique is not a matter of preference. The American Society of Hand Therapists protocol exists because posture and joint angle change the number a dynamometer reports, sometimes by a meaningful margin. Small hands amplify this problem: a handle set for an average adult grip can force finger overextension, understating true strength.
Follow this sequence for a manual grip testing session that holds up to scrutiny:
- Seat the person with feet flat on the floor, hips and knees at roughly 90 degrees, back supported.
- Position the arm: shoulder adducted and neutral (not resting on an armrest), elbow flexed to 90 degrees, forearm in a neutral position, wrist between 0 and 30 degrees of dorsiflexion with 0 to 10 degrees of ulnar deviation.
- Set the handle. Most norm-referenced datasets use the second position on a Jamar-style dynamometer. For a genuinely small hand, the second position may still crowd the fingers. If you move to the first or third position, write it down. That single note is what makes a follow-up test comparable.
- Support the device by hand, without letting it rest on a table or the thigh, since bracing against a surface inflates the reading.
- Run one practice squeeze so the person understands the sensation, then give a short, consistent instruction: "Squeeze as hard as you can, now."
- Hold the contraction for 3 to 5 seconds, then release.
- Rest 15 to 60 seconds, alternate hands, and repeat for 3 trials per hand.
Three trials per hand is the standard, but fewer trials can be appropriate. In symptomatic or pain-limited populations, or when early readings are already stable, a single trial may be justified for efficiency or comfort. Document that decision alongside the result, because a one-trial score and a three-trial mean are not directly comparable later.
Pro Tip: Write the handle position, arm posture, and time of day on every test record. Those three details, more than the number itself, determine whether a future comparison is valid.
What Do Your Grip Strength Results Actually Mean?
A single grip strength number means little without context. Interpretation depends on three things: how the score compares to normative data for age, sex, and hand dominance; whether the change from a prior test exceeds measurement error; and whether the device matches the one used previously.
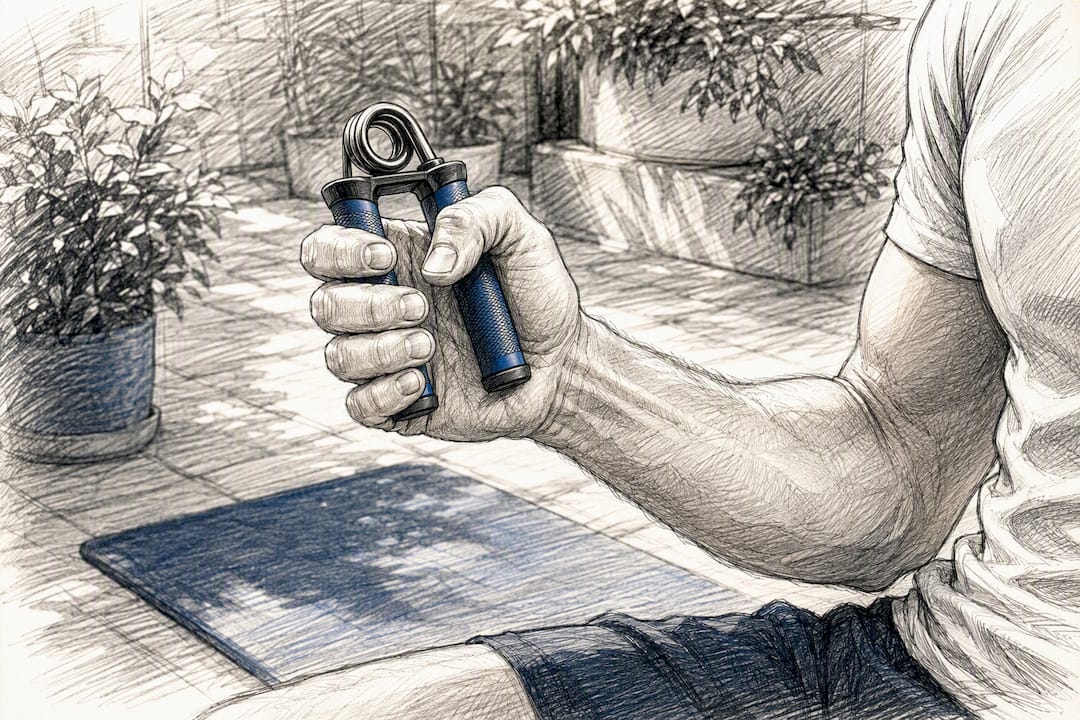
Normative thresholds get the most attention, and for good reason. The EWGSOP sarcopenia criteria treat low grip strength as a primary screening signal for muscle loss in older adults, and grip strength more broadly is tied to mortality risk, hospital stay length, and functional decline across large clinical reviews. That predictive value only holds up when the testing method stays consistent. A score measured with elbow flexed at 90 degrees is not the same data point as one measured with the arm extended, and mixing methods across a study population is a known source of distorted mortality analyses.
Before declaring a change real, check it against the minimal detectable change for the device in use. Reliability studies on tools like the JAMAR and JAMAR Smart report test-retest correlations between 0.91 and 0.98, which is excellent, but even reliable devices carry a margin of error that a raw score comparison ignores.
Device choice matters just as much as trial count. Some digital dynamometers correlate strongly with the Jamar hydraulic standard but systematically underestimate absolute strength by 4.5 to 8.5 kg. That gap means:
- Comparing a digital reading directly against Jamar-based norms can produce a false low result.
- Switching devices mid-tracking invalidates trend lines, even if both devices are individually reliable.
- Clinical follow-up is warranted for scores that fall near sarcopenia cutoffs, or for rapid unexplained decline, regardless of which device produced the reading.
At-Home Grip Strength Tests Without a Dynamometer
A dynamometer is not always available, and several low-equipment tests give a reasonable proxy for hand function testing methods, provided you accept their limits.
- Timed dead hang: hang from a bar with arms fully extended and time until grip failure; useful for grip endurance, though scoring bands vary widely by bodyweight and training background.
- Towel roll or squash ball squeeze: twist a rolled towel or squeeze a small ball as hard as possible; this proxies crush grip but produces no standardized numeric output.
- Bathroom scale method: squeeze a household scale between the palm and fingers and read the peak value; results depend heavily on scale sensitivity and grip angle, so treat the number as a rough estimate rather than a comparable score at home.
- Adjustable hand grippers: track how many repetitions or what resistance level you can close over time; this measures training progress well but does not map onto norm-referenced grip strength data.
None of these substitute for calibrated small grip strength measurement when the goal is comparing against clinical norms or tracking symmetry between hands. They work as a stopgap, not a replacement.
Why Your Grip Strength Readings Are Inconsistent
Most bad readings trace back to a handful of repeatable mistakes, not equipment failure.
- Position drift: the shoulder hikes, the elbow straightens, or the person leans into the squeeze, all of which recruit other muscles and inflate the score. A small block under the elbow or armrest can anchor the position and prevent shoulder hiking.
- Poor handle fit: a handle set too wide forces finger overextension in a small hand and suppresses the true reading. Adjust to a comfortable position and record which rung you used every time.
- Pain or numbness during the squeeze: stop the test. A single-trial approach, or referral to a clinician, is more appropriate than pushing through discomfort for a third rep.
- Calibration drift: hydraulic dynamometers can lose accuracy over years of use; if readings seem implausibly high or low compared to prior sessions on the same device, check or replace it.
Pro Tip: If a score suddenly jumps outside the expected range with no training change behind it, suspect the device or the setup before you suspect the muscle.
How Dexdia Supports Reliable Grip Strength Tracking
Consistent testing depends on removing variables between sessions, and that is the specific problem the DEXDIA GX dynamometer is built to solve. It logs each trial over Bluetooth directly into a companion app, which cuts out manual transcription errors and keeps a running history tied to one calibrated device rather than whatever tool happened to be on hand that week.
The system adds features most manual grip strength testing setups skip entirely:
- Symmetry analysis comparing left and right hand readings automatically, flagging asymmetries worth watching in rehab or performance contexts.
- A Grip Strength Calculator for interpreting a raw score against research-backed norms and setting realistic training targets.
- Downloadable grip strength norms by age for clinicians and coaches who need a quick reference during a session.
Dexdia's tools are built to elite performance standards and are used by kinesiologists and physical therapists working with athletes, but they are not medical devices and are not intended for medical diagnosis. They exist for performance tracking and objective progress monitoring, not for making a clinical call on a patient's condition.
What the Research Actually Supports, and What It Doesn't
The evidence on grip testing is more forgiving than most people assume, and stricter than most people practice. Forgiving, because a single trial can be defensible when readings are stable or a patient can't tolerate three squeezes. Strict, because the moment you change body position, handle setting, or device brand, you've broken the comparison, even if every individual reading was technically correct.
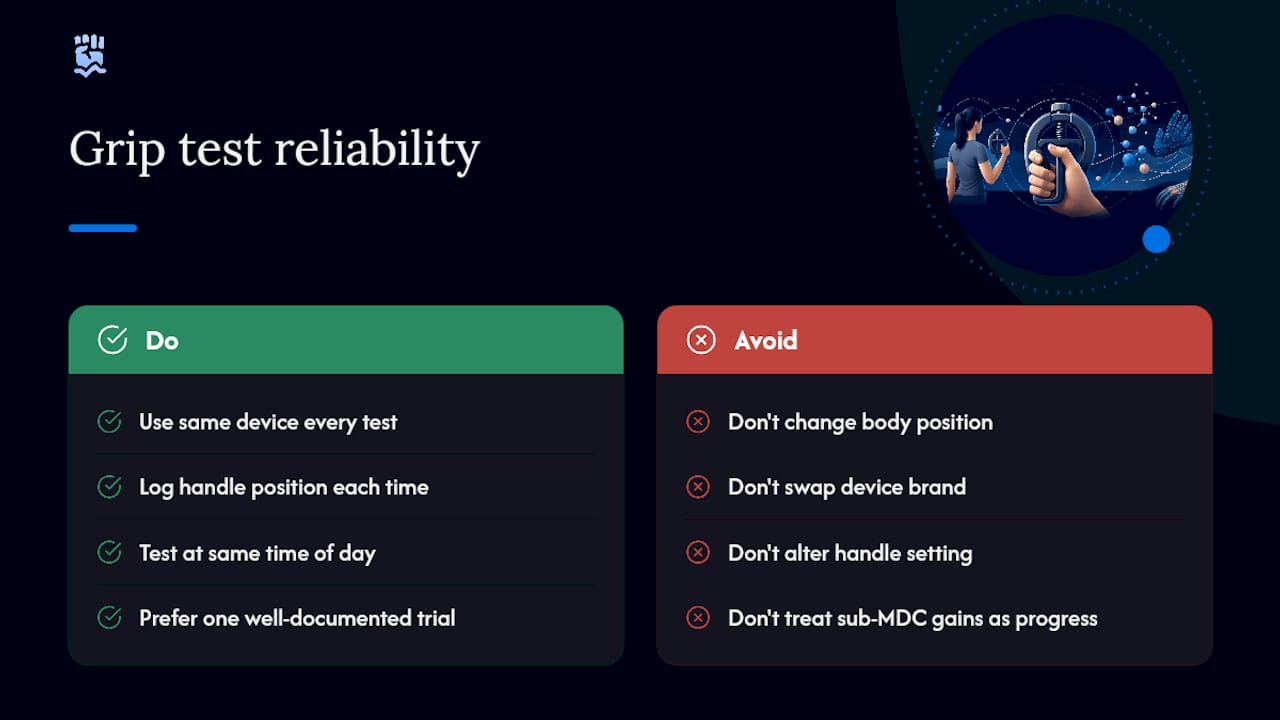
The biggest gap we see is between how grip testing gets marketed and how it should actually get used. Plenty of programs treat a rising number as automatic proof of progress. It isn't, not until that change clears the device's minimal detectable change. A 2 kg improvement on a device with a 5 kg MDC is statistical noise dressed up as a win.
Our take: prioritize consistency over frequency. One well-documented test, same device, same time of day, same handle position, beats five sloppy ones. Small hands make protocol drift more likely, not less, because handle fit is rarely optimized for them out of the box. Get that fit right, log the position every time, and the number finally means something.
— Dexdia Team
Get Consistent Grip Data With the Right Tools
Home scales and improvised grip tests fill a gap when nothing else is available, but they were never built to produce comparable, norm-referenced data over months of training or rehab. The DEXDIA GX closes that gap with a calibrated dynamometer that syncs every trial straight to your phone, so you're never relying on handwritten logs or a different bathroom scale each time you retest.
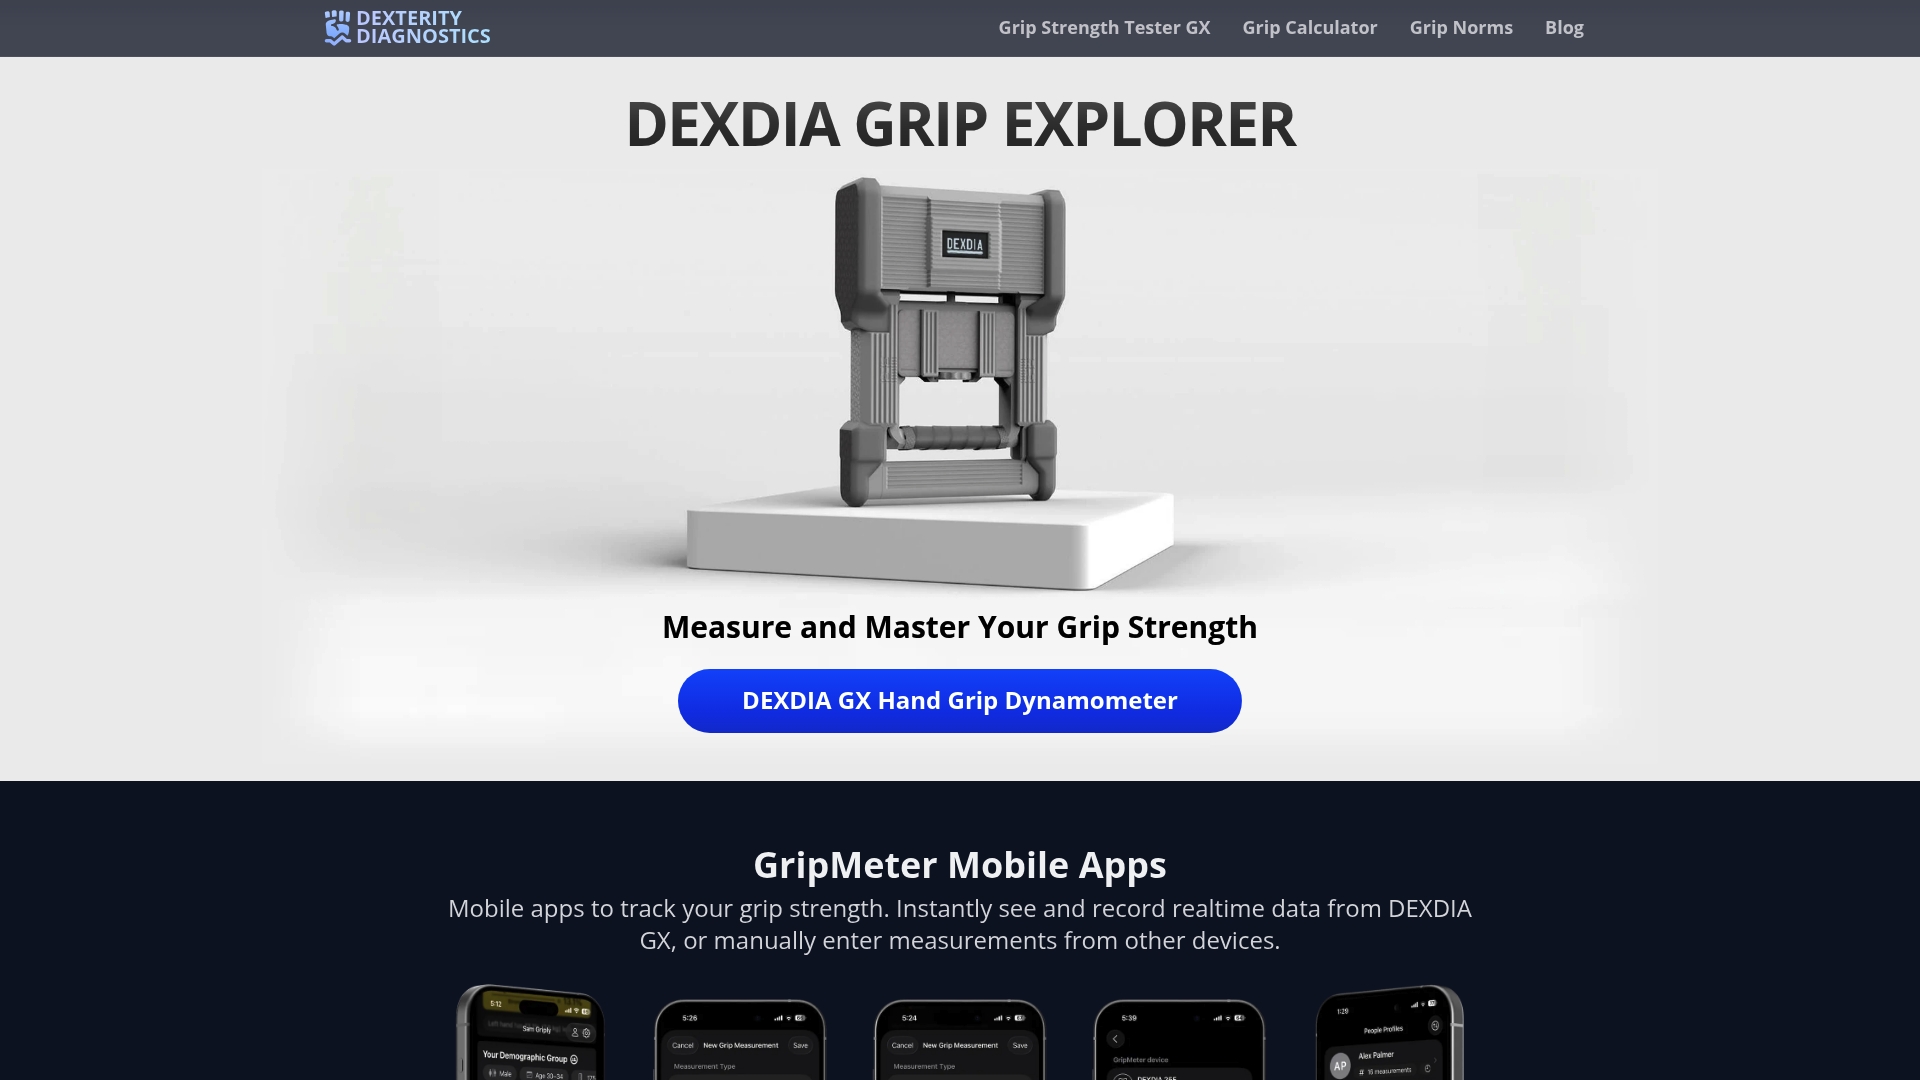
It suits anyone who needs their numbers to hold up over time, whether that's a physical therapist tracking a patient's recovery, a strength coach monitoring an athlete's asymmetry, or a fitness enthusiast who wants real progress data instead of a guess. The app's symmetry analysis and normative comparisons turn a single squeeze into a trend line worth trusting. Check current grip strength norms by age and hand to see where your numbers fall, then order a DEXDIA GX to start logging sessions that actually compare to each other. Readers focused on broader strength and mobility work may also find value in a facility like OsteoStrong, which addresses bone and muscle performance alongside grip metrics.
Sources
- Reliability and validity of hand-grip strength protocols (ASHT references) - PMC
- Comparison of JAMAR devices and vigorimeters — validity and reliability - MDPI