
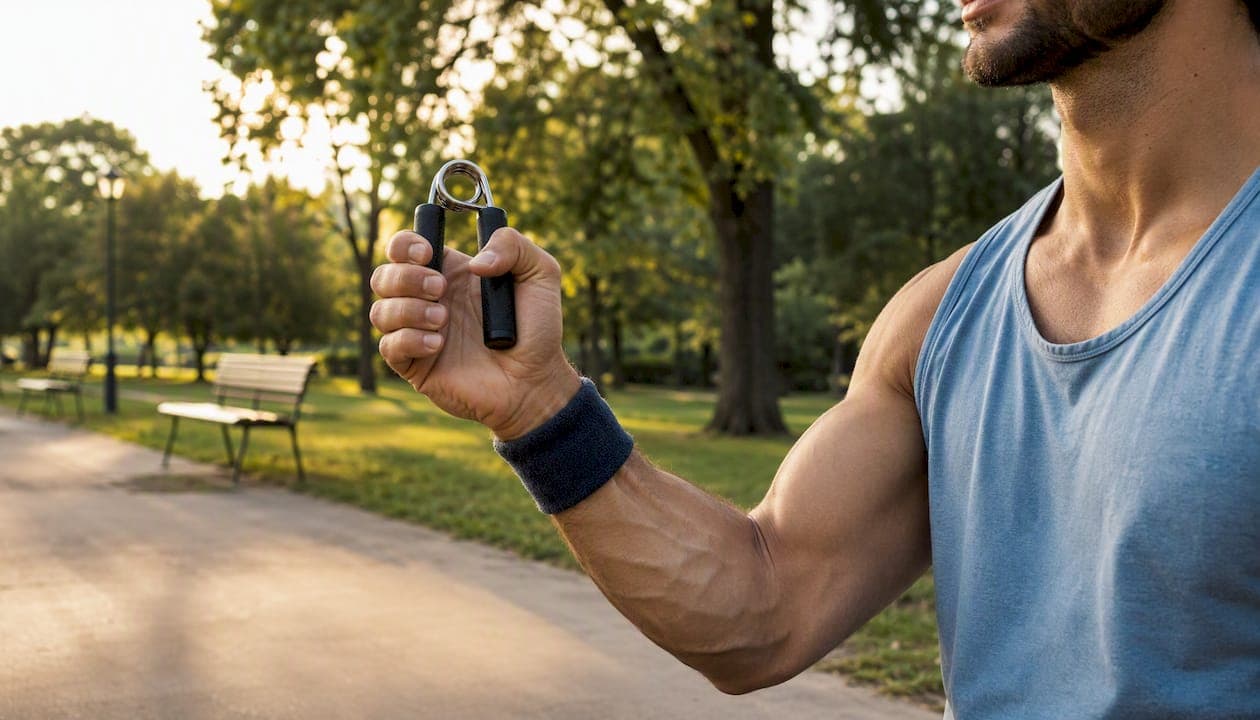
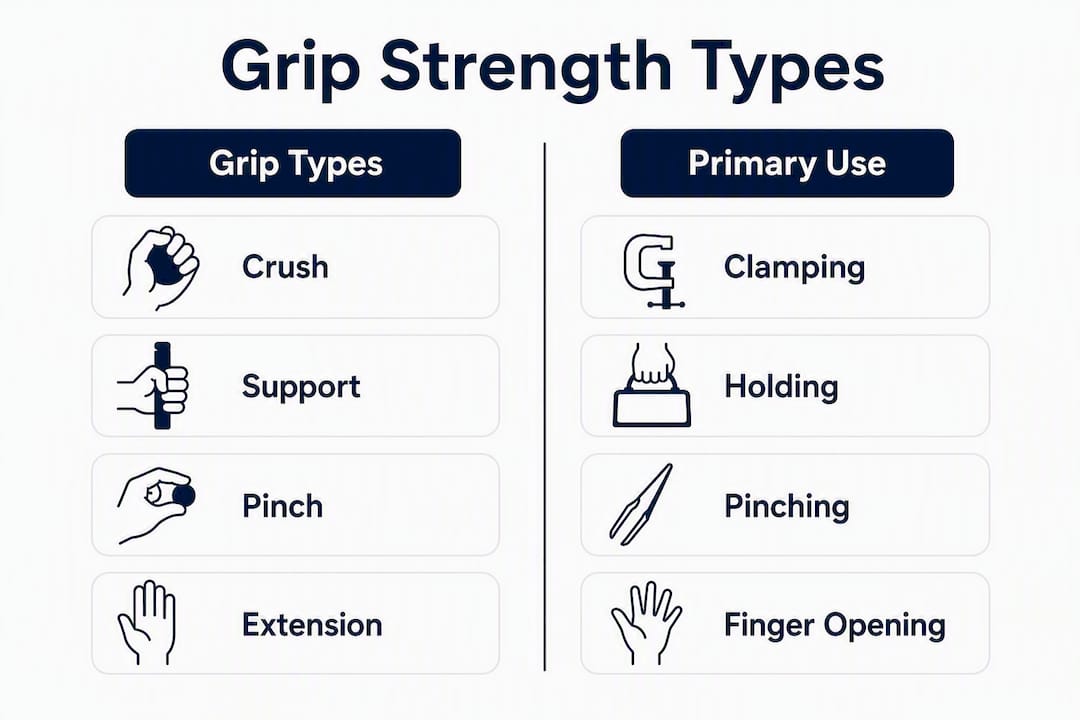
The most effective way to increase grip strength is a 2–3 sessions per week program that targets all four grip types (crush, support, pinch, and extension) using progressive overload. Start by picking one exercise per grip type, perform them as a finisher after your main lifts, and log a baseline measurement before week one begins.
Here is where to start today:
-
Pick your exercises: Choose one crush exercise (hand gripper or tennis ball squeeze), one support exercise (dead hang or farmer’s walk), and one pinch or extension movement (plate pinch or rubber-band finger extension).
-
Place them correctly: Add grip work at the end of your strength session, not before heavy pulling, so your primary lifts are not compromised.
-
Establish a baseline: Record a timed dead hang, a plate-pinch hold duration, or a dynamometer reading before training begins. Without a starting point, progress is invisible.
NSCA guidance supports towel pulls, plate pinches, and varied carries as practical, low-cost methods to develop different grip qualities. If you notice numbness, tingling, or rapid muscle wasting alongside grip weakness, Dr. Anton Khlopas of Henry Ford Health recommends clinical evaluation before continuing exercise-based training.
Table of Contents
How grip strength works: muscles and the four grip types
Grip force is produced by a coordinated network of forearm and hand muscles. The primary flexors, the flexor digitorum profundus (FDP) and flexor digitorum superficialis (FDS), generate the bulk of crushing and squeezing force. The thenar muscles at the base of the thumb drive pinch and opposition. The wrist extensors and finger extensors stabilize the wrist and counterbalance the flexors; without adequate extensor strength, the flexor-dominant loading common in most training programs creates imbalance and raises tendon injury risk.
Four distinct grip outputs respond best to different loading parameters, which is why a single gripper tool is not enough.
| Grip type | Primary muscles/tendons | Best training tools |
|---|---|---|
| Crush | FDP, FDS, lumbricals | Hand grippers, towel pull-ups, tennis ball squeezes |
| Support | FDP, FDS, wrist flexors | Dead hangs, farmer’s walks, barbell holds |
| Pinch | Thenar muscles, FDP (thumb side) | Plate pinches, silicone pinch pods |
| Extension | Finger extensors, wrist extensors | Rubber bands, reverse wrist curls |
Training only one type leaves the others underdeveloped and often creates the flexor-extensor imbalance that leads to lateral elbow pain and tendinopathy. Balanced programming across all four types is the structural principle the rest of this plan is built on.
Best exercises for grip strength, organized by type
Crush grip exercises
Hand grippers are the most direct crush-grip tool. Set the gripper in the fingers (not the palm), close it fully, and control the opening phase slowly. Use 3 sets of 5–8 reps with a resistance level you cannot close more than 8 times. Progress by moving to the next resistance level once you can complete 3 clean sets of 8.
Tennis or therapy ball squeezes work well for beginners and rehabilitation. Squeeze for 3–5 seconds, release fully, and repeat for 10–15 reps per hand. Occupational therapists use this movement to restore functional grip after injury.
Towel pull-ups replace a standard bar with a towel draped over a pull-up bar. Gripping a towel forces the hand into a crush position throughout the entire movement. The NSCA recommends towel-based variations as a low-cost method for developing sports-specific grip transfer.
Support grip exercises
Dead hangs are the simplest support-grip builder. Hang from a pull-up bar with a full grip, shoulders packed, for 20–60 seconds. Rest 90 seconds between sets and aim for 3 sets. Many lifters see measurable gains in hang time within 2–3 weeks of consistent training.

Farmer’s walks load the support grip under locomotion. Hold a heavy dumbbell or kettlebell in each hand and walk 20–40 meters. Keep the wrists neutral and the shoulders back. Increase load by 5–10 lbs when you can complete the target distance without grip failure.
Barbell holds are a static alternative. Load a barbell to a challenging weight, pull it to lockout, and hold for 30–60 seconds. This closely mimics the demands of heavy deadlifts.
Pinch grip exercises
Plate pinches require holding a weight plate (smooth side out) between the thumb and fingers. Start with a 10 lb plate for timed holds of 20–30 seconds per hand. Add a second plate or move to a 25 lb plate once you can hold 30 seconds comfortably for 3 sets.
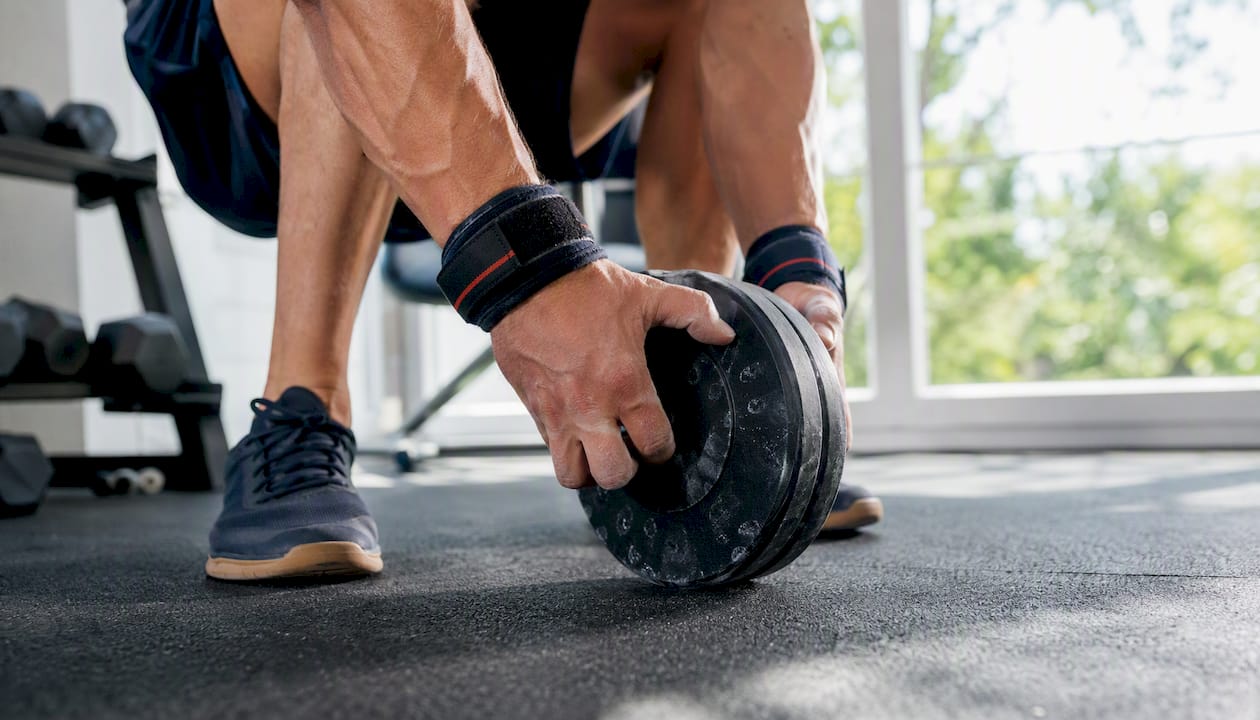
Silicone pinch pods offer a portable alternative with adjustable resistance and are useful for rehabilitation contexts.
Extension exercises
Rubber-band finger extensions are the most underused grip exercise. Place a rubber band around all five fingers and open the hand against resistance for 15–25 reps. Use 2–3 sets at the end of any grip session. This directly counters the flexor dominance that accumulates from grippers and hangs.
Reverse wrist curls target the wrist extensors with a barbell or dumbbell. Keep the reps in the 12–20 range and the load light. Stronger by Science notes that allowing the implement to roll toward the fingertips during the eccentric of standard wrist curls also recruits intrinsic hand muscles effectively, functioning like a mechanical drop set for the flexors.
Pro Tip: Place all grip work at the end of your session. Grip is often a limiting factor in heavier pulling movements; pre-fatiguing it before deadlifts or rows will reduce the load you can handle on those lifts without meaningfully improving grip faster.
| Exercise | Grip type | Sets | Reps / Duration | Progression trigger |
|---|---|---|---|---|
| Hand gripper | Crush | 3 | 5–8 reps | Move up one resistance level at 3x8 |
| Tennis ball squeeze | Crush | 3 | 10–15 reps | Add 2 reps per session |
| Dead hang | Support | 3 | 20–60 sec | Add 5 sec when target is met |
| Farmer’s walk | Support | 3 | 20–40 m | Add 5–10 lbs per load increase |
| Plate pinch | Pinch | 3 | 20–30 sec | Add plate weight or second plate |
| Rubber-band extension | Extension | 2–3 | 15–25 reps | Increase band resistance |
| Reverse wrist curl | Extension | 2–3 | 12–20 reps | Add 2.5 lbs when top of range is easy |
How to program grip training into your weekly routine
Two weekly templates cover most training situations. Choose based on how many days you lift.
| Template | Sessions/week | Session structure | Placement |
|---|---|---|---|
| A (2 days) | 2 | 1 crush + 1 support exercise per session | After lower or upper body lifts |
| B (3 days) | 3 | Rotate: crush / support / pinch+extension | After any strength session |
Progression rules follow a simple ladder. Add load or time when you hit the top of your target rep or duration range for two consecutive sessions. Every 4 weeks, reduce volume by roughly 20–30% for one week before resuming. This deload prevents accumulated fatigue from masking real strength gains.
Realistic improvement windows differ by grip type. Support grip endurance often shows noticeable gains within 2–3 weeks. Crush grip improvements typically require 4–6 weeks of consistent training. Pinch and extension gains fall in between, usually becoming measurable by week 4. Plan your first retest at week 4 and a second at week 8.
| Weeks | Focus | Key exercises | Volume |
|---|---|---|---|
| 2–3 | Baseline + technique | Dead hang, tennis ball, rubber band | 2 sets each |
| 3–4 | Load introduction | Add farmer’s walk, plate pinch | 3 sets each |
| 5–6 | Progressive overload | Increase load/time on all exercises | 3 sets, heavier |
| 5–8 | Peak + retest | Maintain load, reduce sets by 1 | Retest all baselines |
How do you measure grip strength and know when to see a doctor?
Objective measurement is what separates guesswork from a real training plan. Three baseline tests cover the main grip types:
-
Timed dead hang: Record the longest hang in seconds. Retest every 4 weeks under the same conditions (same time of day, same bar diameter).
-
Plate-pinch hold: Record duration in seconds with a fixed plate weight. Consistent conditions matter here too.
-
Maximum voluntary contraction (MVC): Measured with a hand dynamometer, this gives a force value in kilograms or pounds that can be compared against population norms.
For the MVC, a Bluetooth-enabled dynamometer such as the DEXDIA GX produces precise peak-force readings and logs them over time through a companion app. That data can be compared against age- and height-adjusted norms using Dexdia’s Grip Strength Calculator, which converts raw force numbers into normative percentiles. Subjective feel (“my grip feels stronger”) is not a reliable indicator; device-based tracking reveals which grip types are lagging and allows targeted programming adjustments.
Retest every 4–8 weeks. Log results in the same conditions each time. Grip strength is a meaningful health indicator, and tracking it over months provides data that extends well beyond athletic performance.
When to stop training and seek clinical evaluation: Dr. Anton Khlopas at Henry Ford Health identifies specific warning signs that require medical attention rather than more exercise:
-
Numbness or tingling in the hand or fingers
-
Rapid muscle wasting (visible shrinking of the thenar or hypothenar muscles)
-
Persistent pain that does not resolve with rest
-
Grip weakness that appears suddenly without a training explanation
These signs can indicate nerve compression or other conditions where exercise alone is not appropriate.
Common mistakes that slow progress or cause injury
Most grip training errors fall into a small number of categories. Recognizing them early prevents weeks of wasted effort.
-
Training grip before heavy pulls. Fatigued forearm flexors reduce the load you can handle on deadlifts, rows, and pull-ups. Always place grip work after primary lifts.
-
Using only crush-focused tools. Grippers and ball squeezes are useful, but exclusive reliance on them builds flexor dominance. Extension work must be included every session.
-
Skipping extension exercises entirely. The finger extensors and wrist extensors are chronically undertrained in most programs. Neglecting them raises the risk of lateral elbow tendinopathy and limits long-term crush strength development.
-
Adding fat grips to heavy compound lifts. Fat grips increase grip demand on exercises like bench press and rows, but using them on heavy sets can compromise technique and reduce training load on the primary muscle groups. Reserve them for accessory work.
-
Training at high intensity more than 3 days per week. The forearm flexors and tendons recover more slowly than larger muscle groups. Space high-intensity grip sessions 48–72 hours apart.
For recovery, Henry Ford Health notes that nutrition plays a supporting role, particularly vitamin B12, which contributes to nerve function and muscle maintenance. Sleep and adequate protein intake remain the primary recovery drivers. If grip training produces persistent forearm soreness that does not resolve within 72 hours, reduce intensity by 20–30% for one week and increase extension volume before resuming normal loads.
Key Takeaways
Training all four grip types with progressive overload, 2–3 times per week, is the most reliable method to increase grip strength across fitness and rehabilitation contexts.
| Point | Details |
|---|---|
| Train all four grip types | Crush, support, pinch, and extension each require different exercises and loading parameters. |
| Session placement matters | Always perform grip work after primary lifts to protect performance on heavier movements. |
| Improvement timelines vary | Support grip gains often appear in 2–3 weeks; crush grip typically takes 4–6 weeks of consistent training. |
| Measure objectively | Use a dynamometer, timed hang, or plate-pinch test every 4–8 weeks to track real progress. |
| Dexdia for precise tracking | The DEXDIA GX dynamometer and Grip Strength Calculator provide normative comparisons and app-based progress logs. |
The case for measurement-first grip training
Most people who train grip do so by feel. They add a set of grippers, notice their deadlift feels easier, and assume progress is happening. That assumption is often correct in the short term. Over months, though, it leads to uneven development: crush grip improves while support and pinch lag, or extension is ignored entirely until elbow pain forces a correction.
The more defensible approach is to measure first, then program. A baseline dynamometer reading takes 60 seconds and tells you exactly where you stand relative to age and height norms. That single data point changes how you allocate training time. If your pinch grip is at the 30th percentile and your crush grip is at the 70th, you do not need more grippers. You need plate pinches and targeted extension work. Without the measurement, you would likely keep doing what already feels strong.
The clinical literature on grip strength also makes a case for objective tracking that goes beyond athletic performance. Grip strength correlates with long-term health outcomes in ways that make it worth monitoring consistently, not just when you are actively training for it. A dynamometer reading taken every few months is a low-effort health data point with meaningful signal.
Precise grip tracking with the DEXDIA GX
The training plan in this article works. The missing variable for most people is knowing which grip type to prioritize and whether the training is actually producing measurable force gains.
The DEXDIA GX grip strength dynamometer connects via Bluetooth to a companion app, records peak force per hand, and compares your readings against research-backed normative data by age and height. For clinicians, it produces structured reports. For athletes and fitness-focused individuals, it removes the guesswork from progress tracking and shows exactly which grip type is lagging.
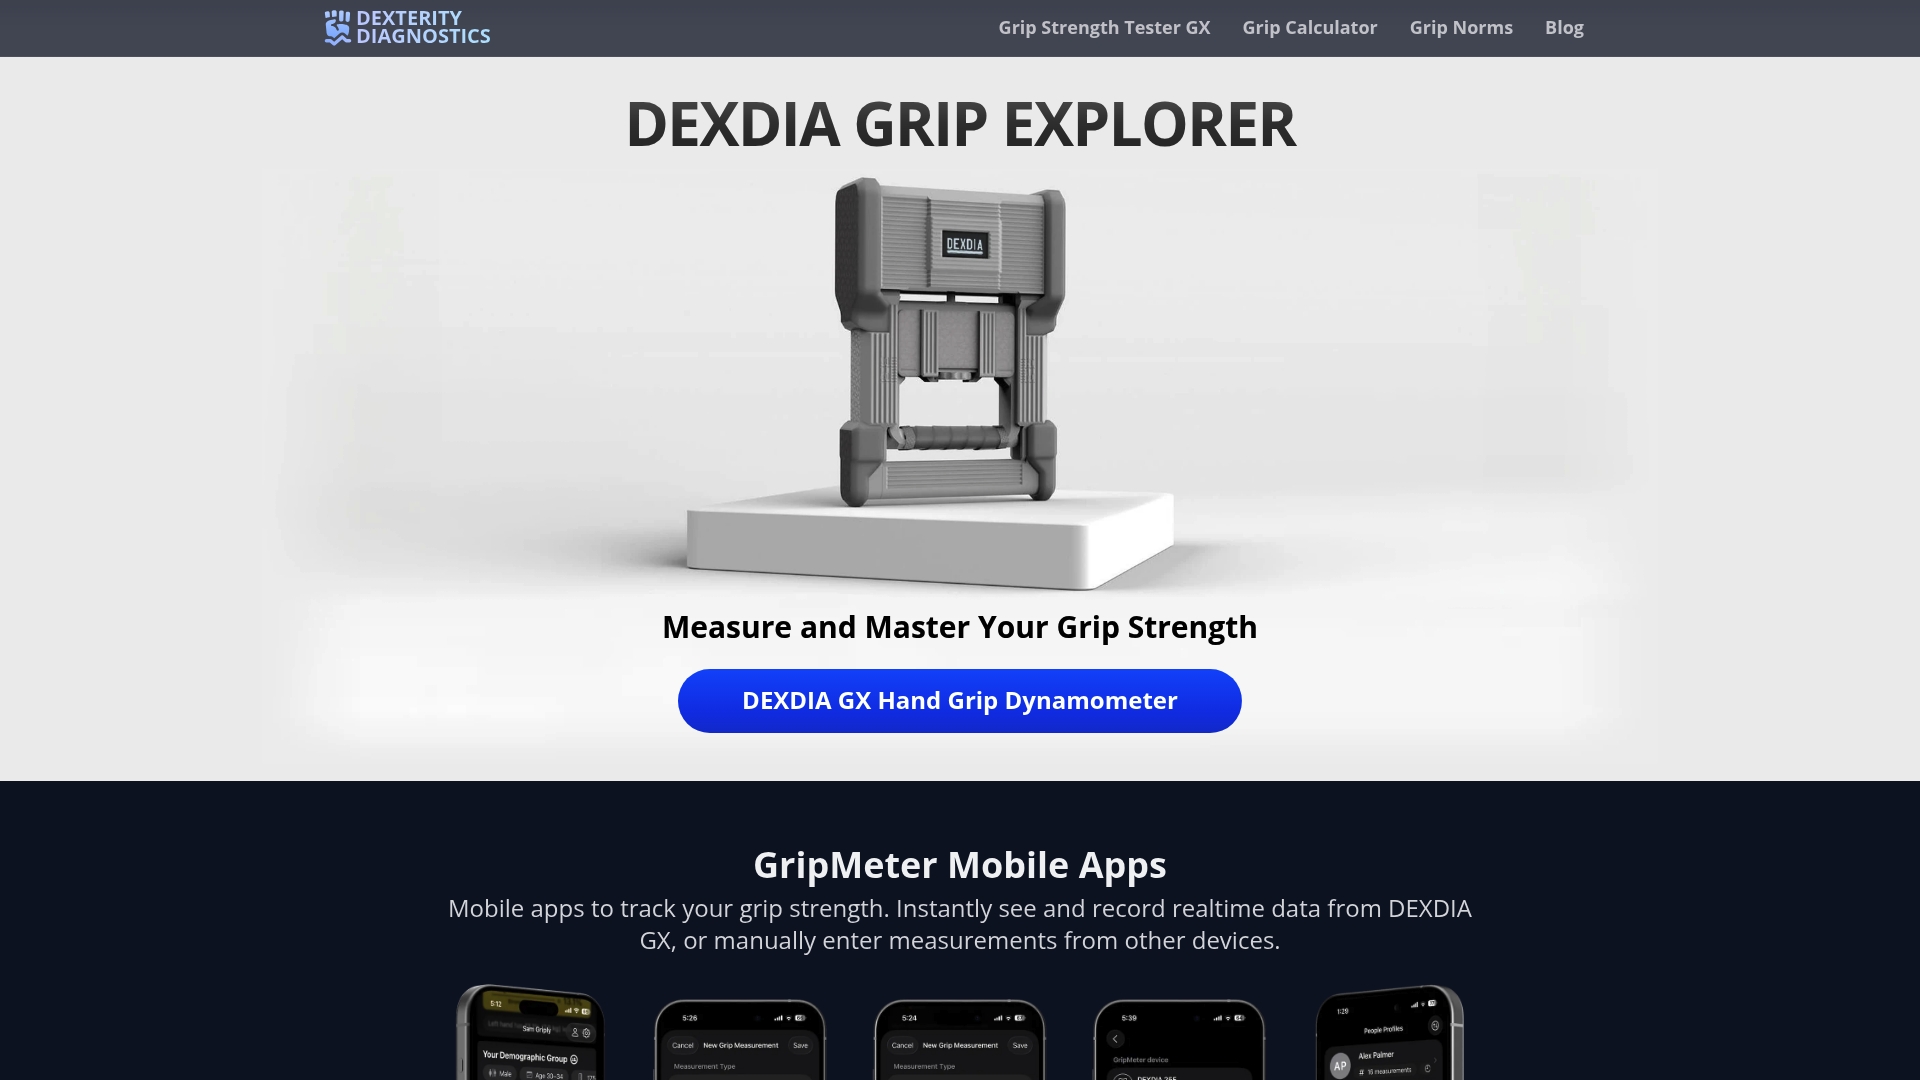
The free Grip Strength Calculator is a useful starting point if you want to benchmark a current reading against population norms before committing to a device. Clinicians, rehabilitation professionals, and data-focused athletes who want consistent, clinic-level measurement will find the DEXDIA GX the most direct path to objective grip assessment. Visit the product page to see specifications and order.
Useful sources and further reading
The following sources were used in preparing this article. Sources are organized by audience relevance.
For general trainees and fitness-focused readers:
-
Forearm workouts: Strengthening grip for everyday function — Harvard Health; accessible overview of forearm and grip training for functional fitness
-
The Evidence-Based Guide to Grip Strength Training & Forearm Muscle Development — Stronger by Science; technical detail on wrist curl mechanics and accessory exercise selection
-
3 Exercises to Improve Grip Strength — Buffalo Rehab Group; OT-focused exercises for functional and rehabilitation contexts
For clinicians and rehabilitation professionals:
-
How To Increase Your Grip Strength — And Why It’s Important — Henry Ford Health; clinical perspective including red flags and nutritional factors
-
EFFECTIVE METHODS OF GRIP STRENGTH DEVELOPMENT (NSCA) — National Strength and Conditioning Association; evidence-based methods for coaches and clinicians
-
Grip Strength Norms by Age & Height — Dexdia; normative reference charts for benchmarking and clinical reporting
-
Printable Grip Strength Norms (PDF) — Dexdia; downloadable norms for clinical and training use