
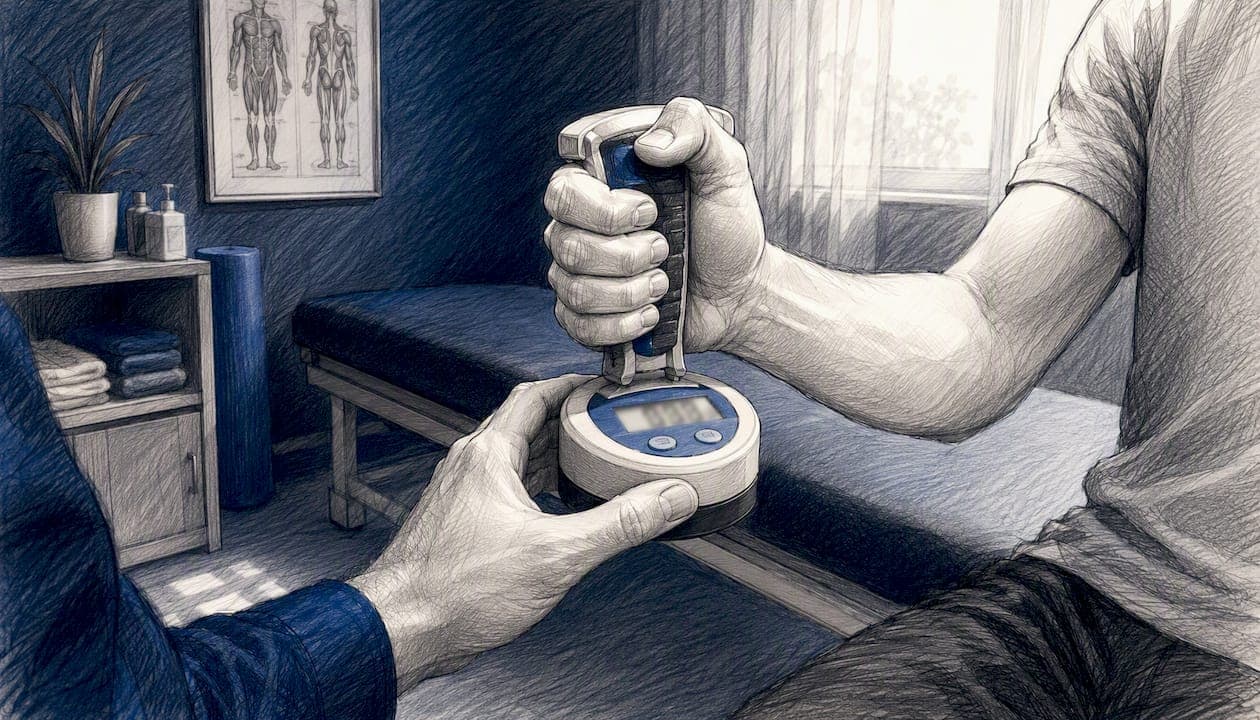
Use a standardized dynamometry protocol, seated position, elbow at 90 degrees, second handle setting, three trials per hand, to get grip strength values that hold up for clinical tracking and decision-making. This is the physical therapy grip assessment approach endorsed by the American Society of Hand Therapists (ASHT), and it's the only version of grip testing worth putting in a chart.
Record these checkpoints at every session:
- Position: seated, shoulder adducted, elbow flexed 90 degrees, forearm and wrist neutral.
- Handle setting: second rung on the dynamometer, noted every time.
- Hand tested: dominant vs. non-dominant, recorded explicitly.
- Trial number: three attempts per hand, alternating sides.
- Rest interval: roughly 15 to 30 seconds between trials on the same hand.
- Device and tester ID: which unit and which clinician performed the test.
For instrumentation, the Jamar hydraulic dynamometer remains the traditional clinical benchmark against which most normative data and research studies are built. The DEXDIA GX is a strong modern option for clinics that want Bluetooth data export, automatic symmetry calculations, and less manual charting. A device like Squegg fits better as a patient home-training companion than a clinical measurement tool, since it's built for consumer engagement rather than diagnostic-grade load cell accuracy.
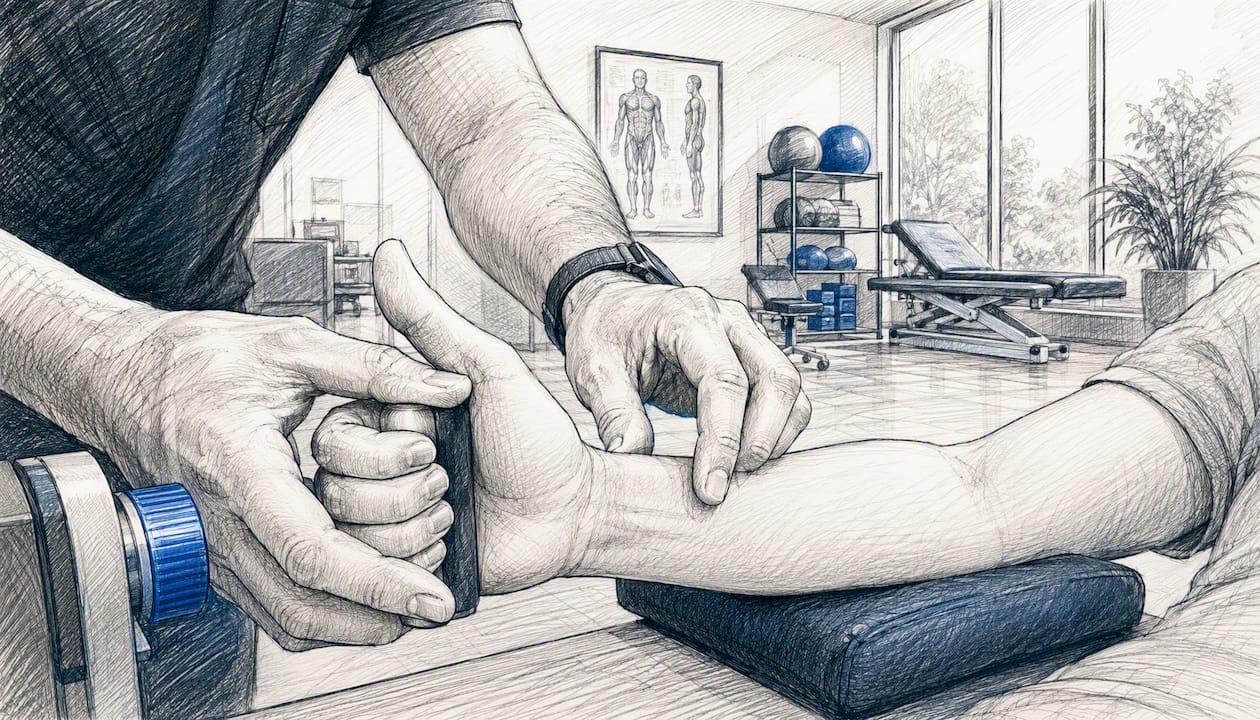
Pro Tip: Support the base of the dynamometer in your own palm during testing, especially with post-surgical or arthritic patients. Letting the device dangle from the patient's grip alone introduces wrist torque that skews the reading, and it's one of the most common uncontrolled variables in clinic-based hand function assessment.
Key Takeaways
A standardized dynamometry protocol, ASHT positioning, second handle setting, three trials per hand, is what turns grip strength into trustworthy clinical data rather than a rough impression.
| Point | Details |
|---|---|
| Follow ASHT positioning | Seated, elbow at 90 degrees, forearm and wrist neutral, on the second handle rung, every session. |
| Trust condition-specific MCID | A 5 kg change matters for stroke recovery, but epicondylitis needs roughly 17 kg before it's meaningful. |
| Don't swap devices mid-treatment | Different dynamometers can show strong ICC but systematic bias, so stick with one unit per patient. |
| Pair force with function | Add a task-based test like TRI-HFT or the Nine-Hole Peg Test alongside raw grip numbers. |
| Consider a digital option | The DEXDIA GX adds Bluetooth export and automatic symmetry analysis to the same core ASHT protocol. |
Table of Contents
- Why Does Grip Strength Matter in Rehabilitation?
- How Do You Run a Standard Grip Strength Evaluation?
- Which Grip Dynamometer Should Your Clinic Use?
- What Do ICC and MCID Values Mean for Grip Tracking?
- Should You Pair Grip Testing With Functional Hand Tests?
- How Should Clinics Standardize Grip Testing Across Staff?
- What Are the Limits of Standard Grip Testing?
- A Clinical Perspective on Standardizing Grip Testing
- A Digital Option Built for This Exact Protocol
- Where to Read the Original Research and Protocols
- Frequently Asked Questions
- Sources
Why Does Grip Strength Matter in Rehabilitation?
Grip strength earns its place in a standard evaluation because it predicts more than hand function. It correlates with systemic health, frailty risk, and recovery trajectories across a surprising range of conditions, which is why the importance of grip in rehabilitation extends well past the wrist and fingers.
Hand grip strength is a simple, objective measure that gives you a quantifiable read on upper limb function, and multiple consensus sources recommend folding it into routine clinical assessment rather than treating it as an optional add-on. That recommendation carries weight because grip strength behaves like a vital sign: it tracks with hospitalization risk, functional decline, and even long-term mortality in ways that blood pressure or heart rate alone don't capture for musculoskeletal populations. Research framing grip as a vital-sign proxy argues that clinicians routinely underuse it as a predictor, especially in older adults where sarcopenia and general deconditioning move together.
None of that value holds if you ignore the variables that distort a raw number. Age, sex, and hand dominance shift the normative range substantially, and time of day, recent activity, and pain levels can swing a single-session reading enough to mislead a discharge decision. A patient tested first thing in the morning after a stiff night will often read lower than the same patient tested mid-afternoon, and that gap has nothing to do with actual strength change.
Grip testing shows up across a wide clinical footprint:
- Baseline screening at initial evaluation, especially for orthopedic and neurologic admissions.
- Post-surgical tracking after hand, wrist, or elbow procedures.
- Frailty and fall-risk monitoring in geriatric caseloads.
- Return-to-sport clearance and asymmetry checks in athletic rehab.
How Do You Run a Standard Grip Strength Evaluation?
This section is the executable protocol: everything below is what separates a clinically valid reading from a number that looks precise but means nothing.
Seat the patient with the shoulder adducted and neutrally rotated, elbow flexed to 90 degrees, and forearm in a neutral position with the wrist held neutral to slightly extended. This posture matters more than most clinicians assume. Strict adherence to ASHT positioning is the single biggest factor separating usable data from noise, because even minor shifts in shoulder or wrist angle change the mechanical leverage the patient can generate, independent of actual muscle output. Use the second handle rung on the dynamometer unless a patient's hand size clearly requires an adjustment, and if you do adjust it, document the change every time.
Coach the patient the same way on every visit. Tell them to build force smoothly rather than jerking the handle, and to sustain the squeeze for three to five seconds so you capture a true peak rather than a spike distorted by momentum. Watch for substitution patterns, wrist flexion, shoulder hiking, trunk lean, since these compensations both distort the reading and can flag movement patterns worth addressing separately.
- Position the patient per the ASHT standard (seated, elbow 90 degrees, forearm and wrist neutral).
- Set the dynamometer to the second handle rung and confirm the setting out loud with the patient.
- Run three trials per hand, alternating sides to reduce cumulative fatigue in either hand.
- Rest roughly 15 to 30 seconds between trials on the same hand.
- Record either the best of three or the mean of three, consistently, and note which convention your clinic uses.
- Log the device, handle setting, time of day, hand dominance, and tester ID alongside the score.
- Annotate any pain, compensation, or hesitation observed during the trial.
The Physiopedia protocol summary confirms this same structure: seated position, standard handle setting, three trials per hand, is the version most widely taught and most consistent with the normative datasets you'll compare patients against.
Pro Tip: Support the dynamometer's dial or base in your own hand rather than letting the patient hold it unsupported, particularly with post-op or arthritic hands. This single adjustment removes a surprising amount of tester-introduced variability, and it costs you nothing in test time.
A rest interval of 15 to 30 seconds between trials, paired with hand alternation, keeps fatigue from contaminating your third trial, which is exactly the trial most clinics use as the recorded value when following a mean-of-three convention.
Which Grip Dynamometer Should Your Clinic Use?
The right device depends on your setting: a research lab needs the Jamar for protocol comparability, a busy outpatient clinic benefits from Bluetooth-enabled digital tools that cut documentation time, and a home-exercise program can lean on a consumer device for patient engagement without diagnostic-grade precision.
| Attribute | Research-grade hydraulic | Validated budget electronic | Clinical-grade digital (Bluetooth) | Consumer smart trainer |
|---|---|---|---|---|
| Accuracy / gold-standard status | Long-standing clinical benchmark, most normative data built on this standard | Small systematic bias versus benchmark, acceptable for general tracking | High accuracy with digital load cell, built for clinical export | Adequate for self-monitoring, not intended for diagnostic precision |
| Portability & ease of use | Moderate, no calibration display | High, lightweight | High, app-paired setup | Very high, pocket-sized |
| Digital connectivity & data export | None | Limited or none | Full Bluetooth sync and app export | Bluetooth app sync for personal tracking |
| Best use-case | Research studies, protocol standardization | General clinic screening on a budget | Rehab progress tracking, symmetry analysis | Home training, patient engagement |
| Price / clinic budget consideration | Moderate one-time cost | Low one-time cost | Moderate one-time cost with added software value | Low, consumer price point |
The Jamar hydraulic dynamometer earns its gold-standard reputation from decades of normative data built specifically around it, but it offers no digital export and requires manual logging for every session. A validated budget electronic unit, something like the Camry EH101 referenced in clinical device comparisons, can work for general screening, though it carries a small systematic bias worth accounting for if you're tracking against Jamar-based norms.
The DEXDIA GX fits clinics that want to modernize without sacrificing rigor. It pairs a digital load cell with Bluetooth export, which turns a three-minute manual documentation task into an automatic sync, and it calculates left-to-right symmetry automatically, a metric that's tedious to track by hand across dozens of patients. Squegg, by contrast, is built for consumer engagement rather than clinical measurement, and it's better positioned as a home-adherence tool you recommend for between-visit tracking than as your primary clinic instrument.
Calibration matters regardless of which device you choose. Hydraulic dynamometers drift over time and should be checked against a known weight periodically, while digital load cells need their own manufacturer-specified calibration schedule. Critically, devices are not automatically interchangeable: one study found a modern hand-held dynamometer (NOD) showed strong correlation with the Jamar but systematic differences in readings, with the NOD consistently lower. If you switch devices mid-treatment for a longitudinal case, that's a documentation flag, not a footnote.
What Do ICC and MCID Values Mean for Grip Tracking?
The reliability picture for hand grip strength assessment is strong across populations, and the practical takeaway is this: trust the number, but only interpret change against condition-specific thresholds rather than gut feeling.
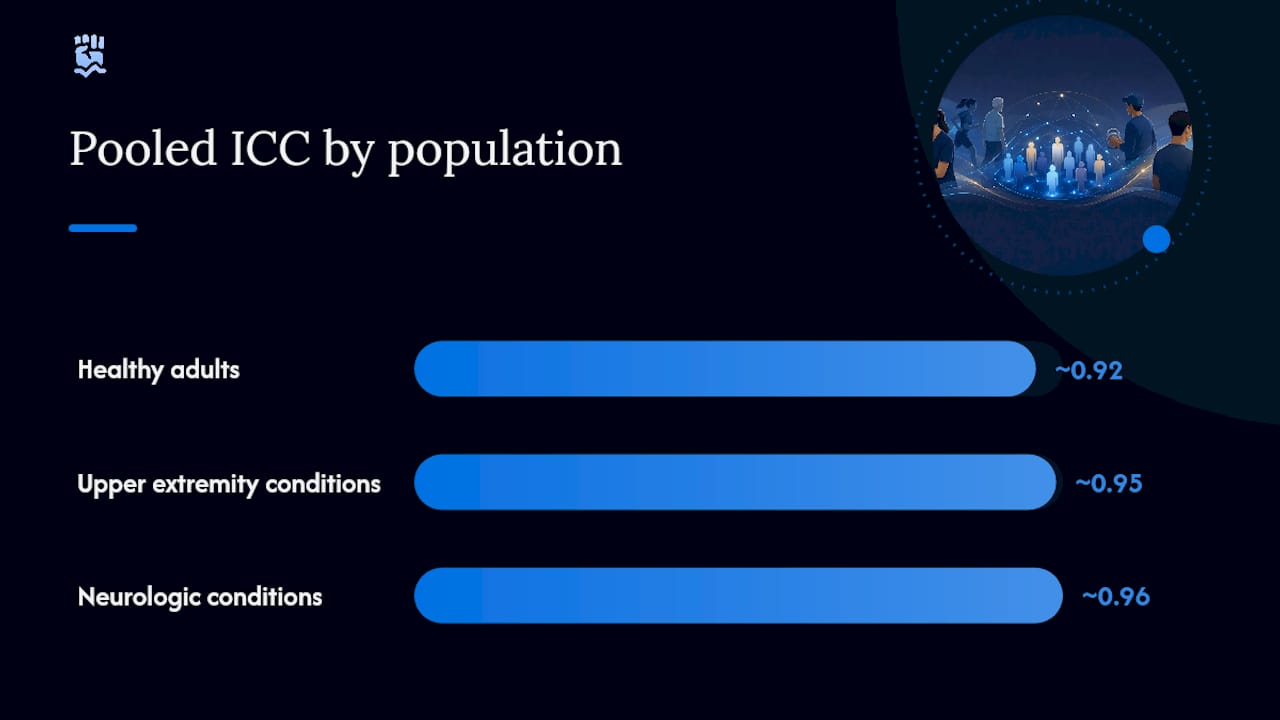
A systematic review and meta-analysis reported pooled intraclass correlation coefficients of about 0.92 in healthy adults, 0.95 in populations with upper extremity conditions, and 0.96 in neurologic populations, evidence that grip testing is one of the more reliable measures in the rehabilitation toolkit when performed with a standardized protocol.
| Condition | Pooled ICC | Representative MCID |
|---|---|---|
| Healthy adults | ~0.92 | Not applicable (screening context) |
| Upper extremity conditions (general) | ~0.95 | Varies by diagnosis |
| Neurologic conditions | ~0.96 | 2 kg (stroke recovery) |
| Lateral epicondylitis | Included in upper extremity pool | ~17 kg |
Those MCID figures matter because a 2 kg change in a stroke patient's grip score might reflect genuine motor recovery worth documenting as functional progress, while the same 2 kg shift in a lateral epicondylitis patient, where the meaningful threshold sits closer to 17 kg, is likely within normal test-retest noise. Treating every fluctuation as clinically significant is how you end up with charts full of misleading trend lines.
When a reading changes between sessions, work through this sequence before you draw a conclusion:
- Verify setup: same device, same handle setting, same posture.
- Re-test once more that session if the change seems inconsistent with the patient's reported function.
- Compare against the contralateral limb, since bilateral change often signals a systemic factor rather than true unilateral recovery.
- Check the MCID for that specific condition before calling the change meaningful.
For routine clinic tracking without a condition-specific MCID on hand, a useful rule of thumb is to treat changes below roughly 5 to 6 kg with caution in most upper extremity populations, and to lean harder on trend lines across multiple sessions rather than any single data point.
Should You Pair Grip Testing With Functional Hand Tests?
Force output alone tells you how hard someone can squeeze, not whether they can button a shirt, so a complete hand function assessment always pairs dynamometry with at least one task-based test.
Validated options include the TRI-HFT (Toronto Rehabilitation Institute Hand Function Test) and the MacHAND Performance Assessment, both of which score patients on functional tasks rather than raw force. Pairing force metrics with performance-based testing gives you a fuller picture, since a patient can post a respectable grip number on the dynamometer while still struggling with fine motor sequencing needed for real tasks like opening a jar or managing buttons. Timed tasks, like the Nine-Hole Peg Test for dexterity, add another dimension when fine motor coordination is the bigger clinical concern than raw strength.
Translating a grip number into a goal works best when you anchor it to something the patient's own body already tells you. Comparing against the contralateral limb and against age and sex-matched norms tends to produce more realistic, motivating goals than a generic population cutoff, because "good" grip strength varies enormously depending on a patient's baseline and demographics. A functional movement screening approach, discussed in more detail in broader movement screening resources, applies the same logic: task-specific benchmarks beat one-size-fits-all thresholds.
Pro Tip: *When presenting grip results to a patient, frame the goal against their uninjured hand's number rather than a population average.
How Should Clinics Standardize Grip Testing Across Staff?
Test grip strength at initial evaluation, then again at meaningful checkpoints, weekly for active rehab caseloads, and at defined pre-op and post-op intervals for surgical patients, so trend data actually reflects recovery rather than measurement drift.
Standardizing across an entire clinical staff takes more than a verbal reminder. Build these pieces into your workflow:
- Train every clinician on the exact ASHT positioning sequence during onboarding, not just a quick verbal walkthrough.
- Post a laminated protocol sheet at each testing station listing posture, handle setting, and trial count.
- Keep a device log noting which unit was used for each patient across visits.
- Set a recurring calibration schedule for each dynamometer and log the date of the last check.
- Audit a sample of charts quarterly to confirm documentation fields are being filled consistently.
For digital workflow, Bluetooth-enabled devices like the DEXDIA GX sync trial data directly to a companion app, which removes the manual re-entry step that introduces transcription errors. Pairing that data with the Dexdia Grip Strength Calculator lets you benchmark a patient's score against normative references and generate a trend graph without building a spreadsheet from scratch.
A documentation template worth copying directly into your EHR or paper chart:
- Date / time of test:
- Device and handle setting:
- Hand tested (dominant/non-dominant):
- Trial 1 / Trial 2 / Trial 3 (kg or lb):
- Recorded value (best or mean):
- Pain or compensation noted:
- Tester initials:
That level of granularity feels excessive on day one and pays off within a month, once you're trying to explain a plateau or a regression to a referring physician.
What Are the Limits of Standard Grip Testing?
Grip strength testing has real limits: it's context-dependent, devices aren't freely interchangeable, and pain or recent tissue healing can make a single session's number misleading rather than diagnostic.
Common pitfalls worth correcting immediately:
- Inconsistent posture between sessions, fix it by rechecking the ASHT position every single time, not just at initial eval.
- Handle setting drift, where a clinician defaults to whatever rung the dial happens to sit on, fix it by documenting and confirming the setting out loud before each test.
- Fatigue contamination from too many trials without rest, fix it by holding to three trials per hand with adequate rest intervals.
- Device switching mid-treatment, fix it by keeping the same unit for a given patient's full episode of care whenever possible.
Certain populations need protocol adjustments rather than a standard test. Severe arthritis or recent hand surgery may make full-force gripping unsafe or simply impossible, in which case a modified sub-maximal protocol or a different strength proxy, like pinch strength testing, is more appropriate. Severe spasticity can prevent voluntary release of the handle, and cognitive impairment can make it difficult for a patient to follow the coached contraction instructions reliably, both of which call for closer supervision and possibly a caregiver-assisted variation of the test.
Testing maximal grip force too soon after tendon repair, fracture fixation, or joint replacement carries genuine re-injury risk. When healing timelines are still restrictive, use surgeon-cleared submaximal protocols or alternate measures like isometric pinch strength rather than pushing for a full-effort dynamometer reading.
This is general clinical guidance, not a substitute for surgeon-specific precautions. Always confirm testing timelines against the individual patient's post-surgical protocol before applying any grip strength evaluation.
A Clinical Perspective on Standardizing Grip Testing
Clinics that adopt a written protocol, rather than relying on individual therapist habit, tend to see grip data go from a soft impression ("feels stronger") to a number worth putting in a progress note. The gap between those two states is almost always training and consistency, not equipment. A $40 hydraulic dynamometer used with strict ASHT positioning produces more trustworthy data than an expensive digital unit used inconsistently by five different staff members with five different handle-setting habits.
The most common lesson clinics learn the hard way is that calibration and documentation discipline matter more than device sophistication. A clinic that checks its dynamometer against a known calibration weight quarterly and logs the handle setting every session will catch drift and error long before it distorts a discharge decision. Patient education matters just as much: a patient who understands why a smooth three-second squeeze matters, rather than a fast jerk, gives you data you can actually trust across visits.
Tools like the DEXDIA GX fit naturally into this kind of disciplined workflow because Bluetooth sync and automatic symmetry analysis remove some of the manual steps where human error creeps in, but no device replaces the fundamentals: consistent posture, consistent handle setting, and consistent documentation. Get those right first, and the choice of instrument becomes a secondary decision rather than the whole problem.
A Digital Option Built for This Exact Protocol
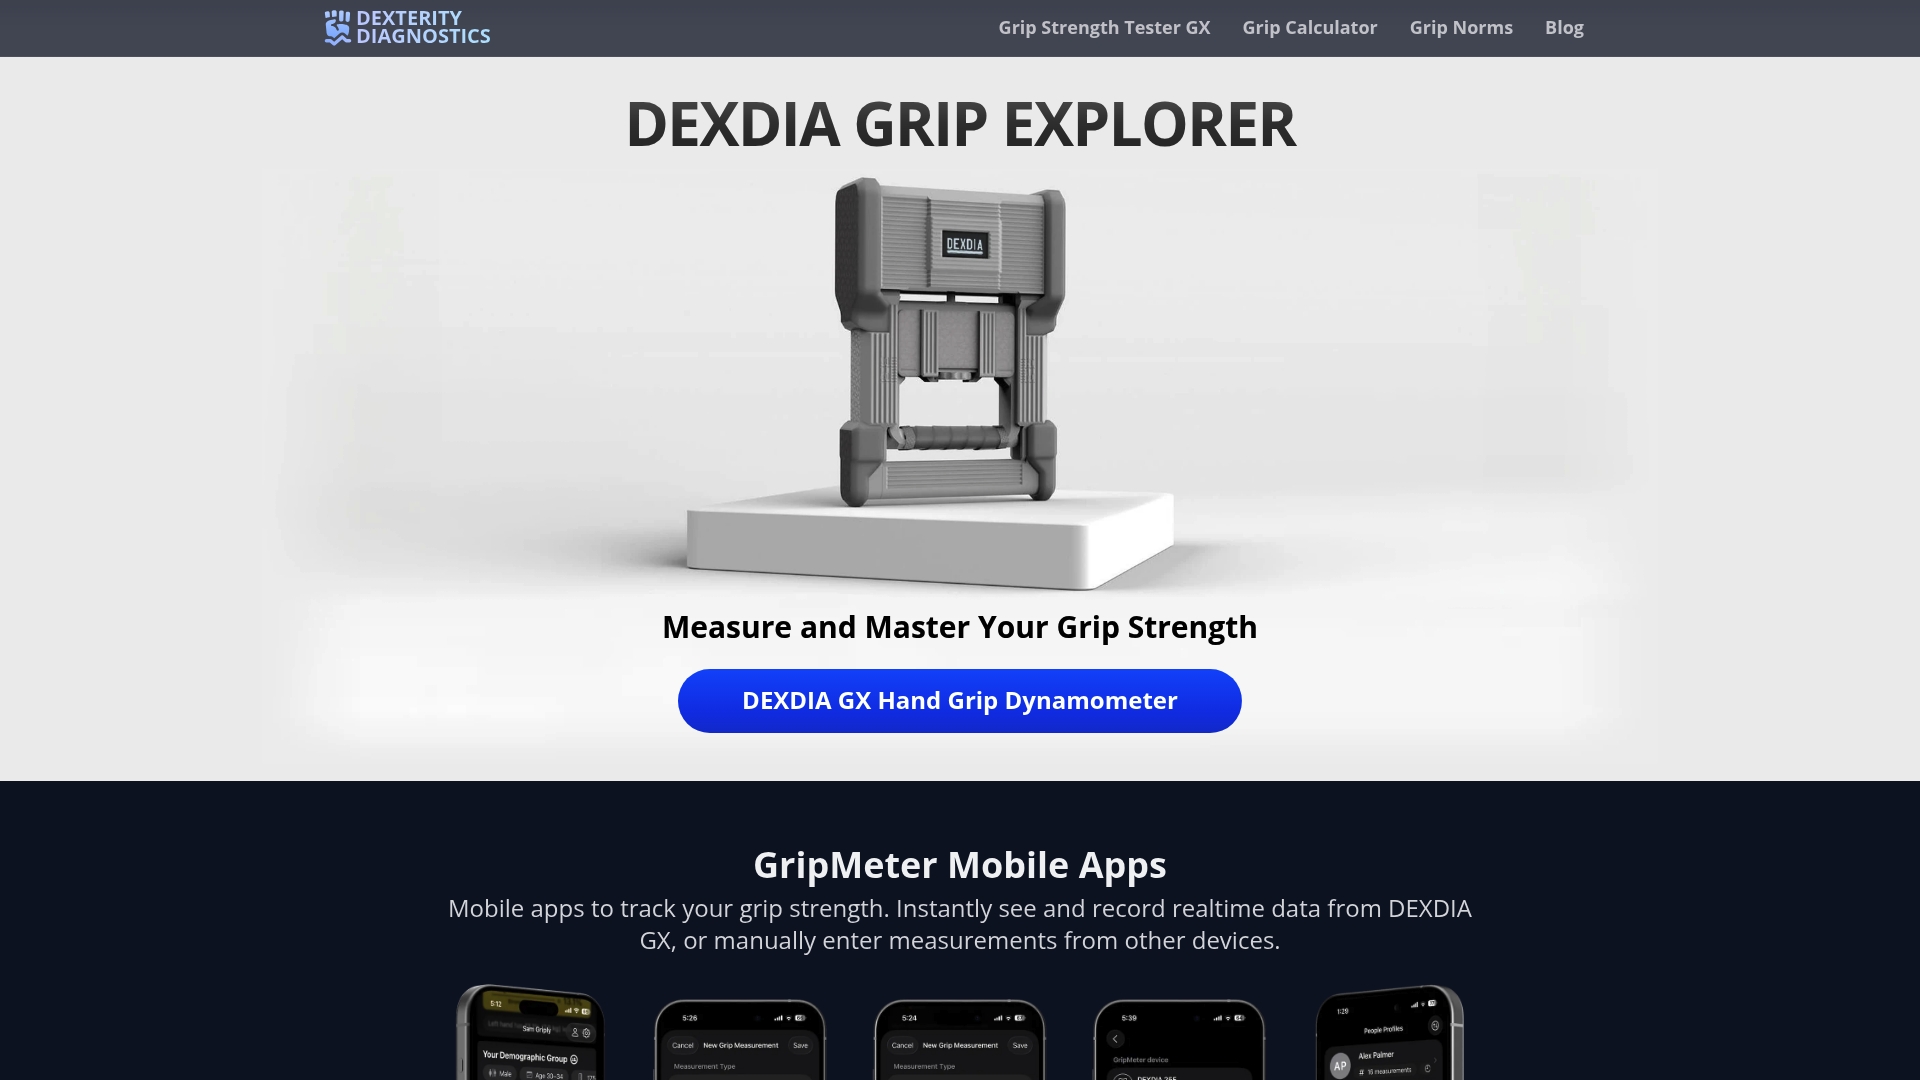
It uses a precision load cell paired with an adjustable handle guide, so you can lock in the second-rung setting and confirm it visually before every test. Bluetooth connectivity syncs each trial directly to the companion app, which cuts out manual data entry and the transcription errors that come with it. Clinics using it report that the built-in symmetry analysis, comparing left and right hand automatically, saves real time versus calculating that percentage by hand across a full caseload.
Feature highlights relevant to a rehab setting:
- Automatic left-right symmetry percentage calculated after each paired test.
- Exportable trend graphs for progress notes or physician updates.
- Integration with the Dexdia Grip Strength Calculator for instant comparison against age and sex-matched norms.
- Printable normative charts you can post at the testing station for quick reference.
Where to Read the Original Research and Protocols
For clinicians who want to go straight to source material, five references cover nearly everything in this protocol: the ASHT positioning standard, the systematic review on measurement properties, the Physiopedia clinical summary, the vital-sign framing of grip strength, and the device interchangeability study comparing a modern hand-held dynamometer against the Jamar.
The ASHT protocol paper is worth reading in full if you've never seen the original positioning rationale explained. It walks through exactly why shoulder and wrist angle change mechanical leverage, which is the detail most secondhand summaries skip.
The systematic review is the single best reference for interpreting change over time, since it's where the pooled ICC and MCID figures used throughout this guide actually come from. The Physiopedia summary works well as a quick-reference protocol sheet you can hand to new staff during onboarding. If your caseload skews older or medically complex, the vital-sign paper makes a compelling case for adding grip screening to standard intake, even for patients who aren't presenting with a hand or wrist complaint. And before you add any new device to your clinic, the interchangeability study is a useful reminder that a high correlation coefficient doesn't guarantee two instruments produce comparable numbers.
Frequently Asked Questions
What is the standard physical therapy grip assessment protocol?
The standard approach uses a Jamar-style dynamometer with the patient seated, elbow at 90 degrees, forearm and wrist neutral, dynamometer set to the second handle rung, and three trials per hand with rest between attempts. This ASHT-based protocol is what most normative data and reliability research is built around.
How do you assess grip strength for older adults or frail patients?
The same positioning and trial structure applies, but expect more session-to-session variability tied to fatigue, pain, or time of day. Comparing results against contralateral limb strength and age-matched norms, rather than fixed cutoffs, produces a more accurate picture for this population.
What is a clinically meaningful change in grip strength?
It depends on the condition. Research-derived MCID values suggest roughly 5 kg for stroke recovery and closer to 17 kg for lateral epicondylitis, so the same numeric change can mean very different things depending on diagnosis.
Can a Jamar dynamometer be swapped for a digital device without losing data continuity?
Not automatically. Studies comparing modern hand-held dynamometers to the Jamar have found strong correlation but a systematic bias in absolute readings, so switching devices mid-treatment can distort a longitudinal trend even when both devices are individually reliable.
Is grip strength testing safe for patients after hand surgery?
Full-effort testing needs surgeon clearance, since maximal contraction too soon after tendon repair or fracture fixation carries re-injury risk. Submaximal protocols or alternate measures like pinch strength are often more appropriate until healing timelines allow standard testing.