
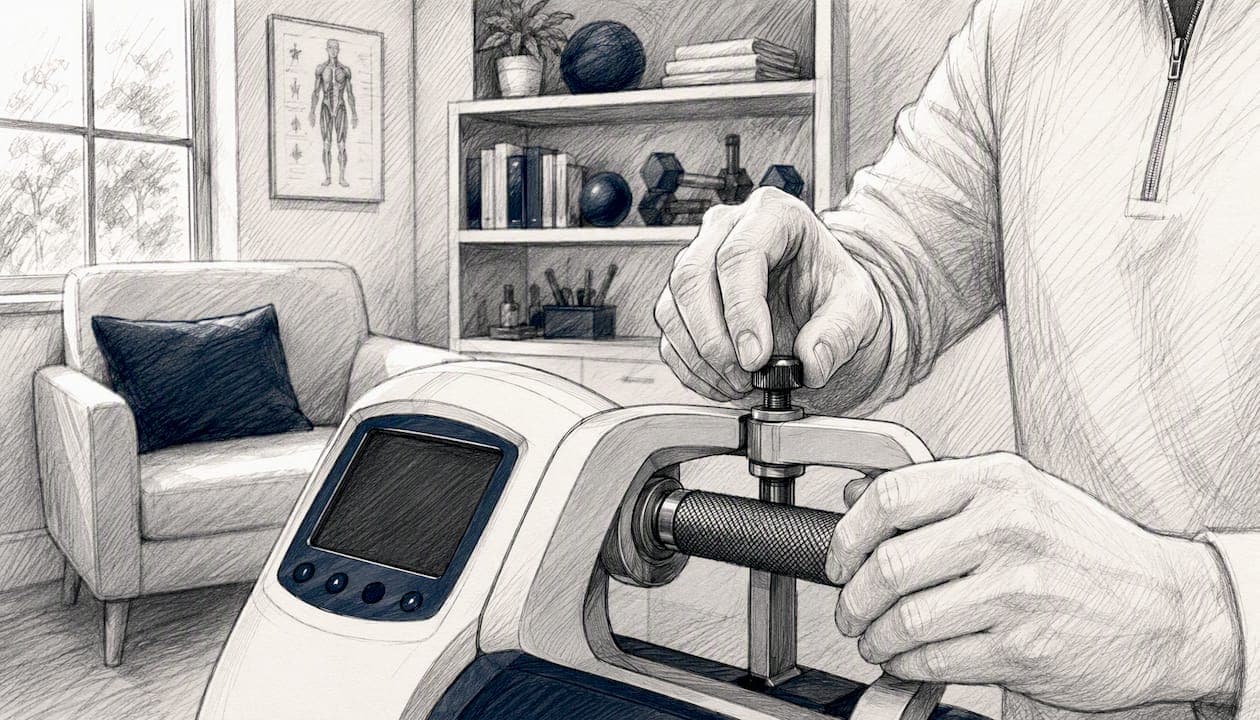
Isometric grip strength is the maximal isometric force a participant can produce against a calibrated dynamometer under standardized conditions. For consistent, comparable results, use a single calibrated device with the participant seated, shoulder adducted and neutrally rotated, elbow flexed to 90°, forearm and wrist neutral, and the handle set so the second joint of the index finger sits at approximately 90° on the grip surface, consistent with the NIH Toolbox and ASHT-compatible protocols. Collect at least three maximal trials per hand with no less than one minute of rest between attempts, and record Fmax, normalized Fmax (kg/m²), left/right symmetry, and time-based metrics. Log device model, calibration date, handle position, and tester ID for every session. Bluetooth-capable dynamometers such as the DEXDIA GX automate timestamped capture and export, reducing transcription error and supporting longitudinal tracking from the first session.
Key measurement fact: A large pooled meta-analysis drawing on approximately 2.4 million adults found that grip strength peaks in the 30–39 age band and declines at an accelerating rate after middle adulthood, underscoring why consistent longitudinal tracking matters.
Key Takeaways
Consistent isometric grip strength measurement requires a single calibrated device, a fixed posture and handle setting, at least three trials with one-minute rest intervals, and automatic logging of device and calibration metadata for every session.
| Point | Details |
|---|---|
| Standardize posture and handle | Seated, elbow at 90°, wrist neutral, handle at second-joint ~90° — replicate exactly every session. |
| Use one device throughout | Mixing device types invalidates longitudinal comparisons; document model and calibration date at every session. |
| Capture Fmax plus time-based metrics | Record peak force, RFD/time-to-peak, force decay, and symmetry percentage for full neuromuscular insight. |
| Normalize for body size | Divide Fmax by height² (kg/m²) for valid cross-participant and population comparisons. |
| Dexdia GX automates metadata logging | The DEXDIA GX logs device ID, calibration date, and handle position automatically, supporting reliable longitudinal tracking. |
Table of Contents
- What does a standardized isometric grip strength protocol look like?
- Which metrics should you capture and report?
- How do you choose and validate a dynamometer?
- How do you maximize test-retest reliability?
- How do you interpret grip strength against normative values?
- How should you capture and track data in apps over time?
- Session-ready checklist for every grip strength test
- What are the limits of standard protocols, and how do you adapt for special populations?
- What the Dexdia Team has learned from standardizing grip assessment
- The DEXDIA GX supports the full measurement workflow
- Sources
What does a standardized isometric grip strength protocol look like?
A reliable protocol has four phases: setup, familiarization, trials, and documentation. Each phase has specific requirements that, when followed consistently, produce data you can compare across sessions and practitioners.
Setup
- Seat the participant with feet flat on the floor, back supported, and the tested arm hanging freely at the side.
- Position the shoulder in adduction and neutral rotation, elbow flexed to 90°, forearm in neutral, wrist in neutral (0–15° extension is acceptable per JOSPT normative guidance).
- Adjust the dynamometer handle so the second joint of the index finger forms approximately 90° on the grip surface. Record the handle position number before the first trial.
- Confirm the device is zeroed and the calibration date is current.
Familiarization
- Administer one submaximal practice squeeze per hand at roughly 50% effort. Allow 30 seconds of rest before proceeding.
Trials
- Instruct the participant to squeeze as hard as possible. Use a standardized verbal cue — the same words, the same volume, every session. Scripted encouragement produces higher peak values while preserving repeatability, so the script is not optional.
- Record at least three maximal trials per hand. Rest at least one minute between trials. Log the timestamp and trial number for each attempt.
- Alternate hands only if your protocol requires it; otherwise complete all trials on one hand before switching.
Documentation
- Record device model, serial number, calibration date, handle position, tester ID, room temperature, participant demographics (age, sex, height, weight), and hand dominance.
- Decide before the session whether you will report peak or mean of three trials, and apply that rule consistently across all sessions.
Pro Tip: Write a one-page verbal script and laminate it at the testing station. Tester-induced variance from inconsistent encouragement is one of the most underestimated sources of measurement error in longitudinal grip-strength programs.
Which metrics should you capture and report?
Fmax (peak force in kg) is the primary output, but it tells only part of the story. Dynamic force profiling adds clinically useful information that maximal force alone cannot provide, particularly for athlete monitoring and rehabilitation progression.
Core metrics to record every session:
- Fmax / peak (kg): the single highest value across all trials for each hand, reported to one decimal place.
- Rate of force development (RFD) / time-to-peak (ms): how quickly the participant reaches peak force. Relevant for neuromuscular efficiency and reactive strength applications.
- Force decay (%): the percentage drop in force during a sustained hold (e.g., over a 10-second contraction). Sensitive to fatigue resistance and recovery status.
- Left/right symmetry (%): computed as (weaker hand Fmax ÷ stronger hand Fmax) × 100. Values below 90% often warrant further assessment.
- Normalized Fmax (kg/m²): Fmax divided by height in meters squared. ACSM recommends height² normalization as a straightforward body-size correction for adult comparisons.
Store raw, unrounded trial values in the app. Report rounded values in clinical summaries. NHANES procedures demonstrate how to structure summed best-hand reporting and reference-classification outputs at the population level — a useful template for clinic record formats.
Example session record row:
How do you choose and validate a dynamometer?
Device type determines absolute output. Hydraulic (Jamar-style), spring (Smedley-style), strain-gauge/digital, and pneumatic dynamometers each use a different measurement mechanism, and their absolute values are not interchangeable. Switching devices mid-program invalidates longitudinal comparisons unless you establish a device-specific conversion factor, which is rarely practical. The simplest rule: one device, one protocol, one program.
For digital and Bluetooth-capable devices, handle-width selection also affects output. Consult a grip-size reference before finalizing your handle setting, and record it as metadata every session.
Pre-session calibration checklist:
- Zero the device before each participant.
- Verify calibration against a certified weight or factory procedure at the interval specified by the manufacturer.
- Inspect handle surfaces for wear or slippage.
- Check battery level (for digital devices) and confirm firmware version.
- For Bluetooth devices (e.g., DEXDIA GX): confirm device pairing, verify the app logs device ID and calibration metadata, and confirm the handle-position field is populated before the first trial.
- Log the calibration date in the session record.
For a detailed breakdown of digital dynamometer options and clinic-suitability criteria, the digital hand dynamometer buying guide covers calibration requirements and feature tradeoffs.
How do you maximize test-retest reliability?
Standardizing the environment and tester behavior accounts for the majority of session-to-session variance. Chair height, scripted encouragement, rest intervals, and handle position must be identical across sessions. Document any deviation from protocol in the session record.
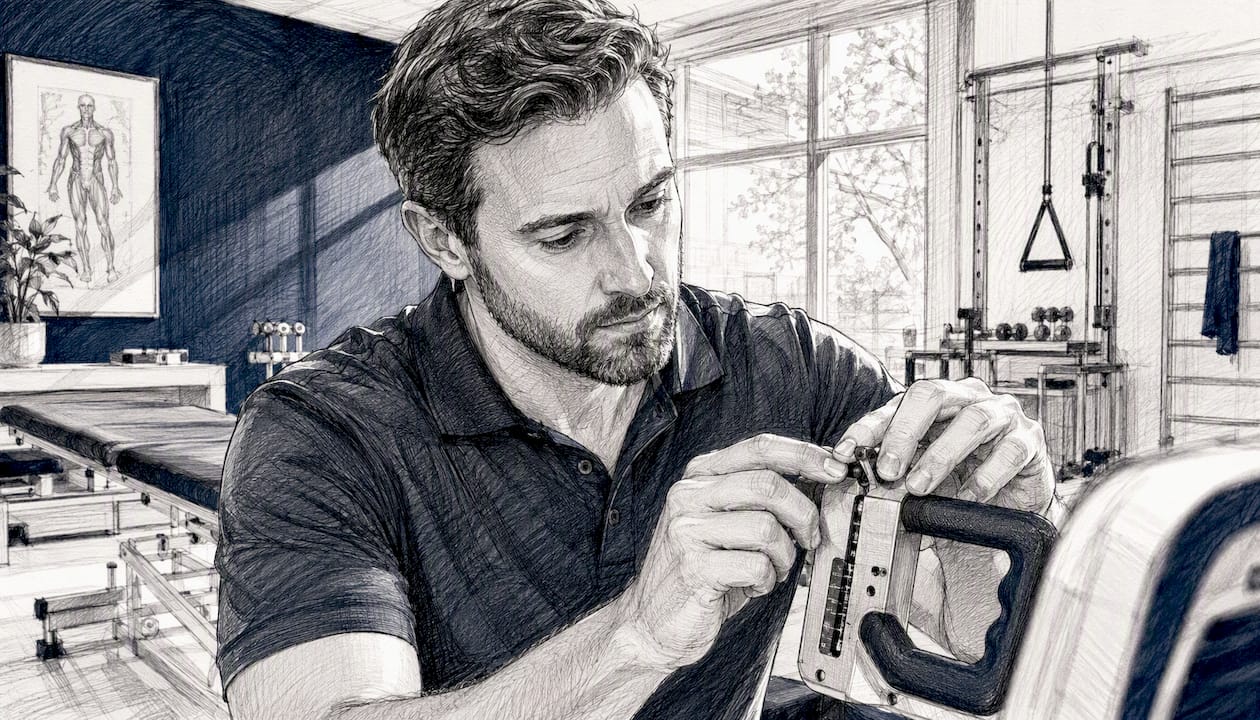
When establishing a new protocol or introducing a new device for a cohort, run test-retest across at least three sessions before using the data for clinical decisions. Report the intraclass correlation coefficient (ICC) and specify whether you used peak or mean of three trials as the aggregated value. Consolidated guidance recommends ≥3 trials with ≥1 minute rest and cross-session ICC assessment to confirm measurement stability.
Common error sources and mitigations:
- Device interchange: use one device per participant across the full monitoring period.
- Inconsistent handle width: record handle position at every session; re-check before each trial block.
- Tester contact with the participant's body: the tester's hand must not stabilize the participant's arm during the squeeze.
- Variable encouragement: use the laminated verbal script described in the protocol section.
Pro Tip: Run a brief inter-tester agreement check when onboarding a new clinician. Have two testers measure the same five participants on the same day and compute the ICC. An ICC below 0.90 signals a training gap before the new tester joins the live dataset.
How do you interpret grip strength against normative values?
Prefer device-specific normative tables when they exist. Jamar normative data stratified by age and sex are the most widely cited for hydraulic dynamometers and were derived using quantile regression across age decades. For other device types, use the manufacturer's published norms or a validated device-matched dataset.
When device-specific norms are unavailable, a large pooled international meta-analysis provides age- and sex-specific percentiles for both absolute and normalized grip strength across adulthood, with peak values in the 30–39 age band and accelerating decline after middle adulthood. Apply these with caution and note the device mismatch in your report.
Normalization worked example:
A 35-year-old male, height 1.78 m, Fmax 42.0 kg right hand. Normalized Fmax = 42.0 ÷ (1.78)² = 42.0 ÷ 3.1684 = 13.3 kg/m²
Report this value alongside the participant's age, sex, device, and handle setting so the percentile can be verified against the correct normative table. Dexdia's grip strength norms by age and height provide height-normalized charts for direct percentile lookup.
Interpretation note: Population-level cutoffs (such as EWGSOP-style low muscle strength thresholds) were established with specific devices and demographic groups. Applying them to a different device or a non-matched population without adjustment introduces systematic error. Always state the normative source, device, and demographic scope alongside any cutoff-based classification.
How should you capture and track data in apps over time?
Every digital record should contain, at minimum: timestamp, device ID and firmware version, handle position, raw trial values for each attempt, a best-trial flag, tester ID, calibration date, and participant demographics. Missing any of these fields makes the record difficult to reanalyze if reporting standards change.
Recommended app workflow:
- Capture raw trial values during the session.
- Auto-calculate Fmax, normalized Fmax, and symmetry percentage immediately after the session.
- Plot Fmax and normalized Fmax over time to detect trends; flag sessions where symmetry drops below your threshold.
- Export a CSV with all metadata columns for clinic EMR integration or research archiving.
Prefer raw-trial CSV exports over summary-only exports. Raw data lets you recompute metrics if you later switch normalization methods or need to apply a different aggregation rule. The Dexdia grip strength calculator computes normalized values and percentiles directly from raw trial inputs, which is useful for spot-checking app outputs or for practitioners who prefer a browser-based workflow. For neuromuscular efficiency tracking, time-to-peak and force-decay columns in the export add sensitivity that Fmax alone cannot provide.
Pro Tip: Name your CSV columns consistently from day one: date, tester_id, device_id, handle_pos, trial_1_kg, trial_2_kg, trial_3_kg, best_kg, norm_fmax, symmetry_pct, calibration_date. Standardized column names make automated analysis and EMR import straightforward.
Session-ready checklist for every grip strength test
Before the session:
- Device ID and calibration date confirmed and logged.
- Handle position set and recorded.
- Chair height standardized; participant seated correctly.
- Participant demographics and hand dominance recorded.
During the session:
- Practice trial completed and logged.
- At least three maximal trials per hand with ≥1-minute rest between attempts.
- Standardized verbal encouragement script used.
- Any protocol deviations noted in the session record.
After the session:
- Best trial identified and flagged in the dataset.
- Normalized Fmax and symmetry computed.
- Raw trial data exported and filed with session metadata.
- Calibration and tester ID confirmed in the final record.
Download printable grip strength norms and protocol checklists for clinic use.
What are the limits of standard protocols, and how do you adapt for special populations?
The standard protocol assumes a participant who can maintain the seated posture, tolerate a maximal effort, and fit a standard handle. Several populations require documented adaptations.
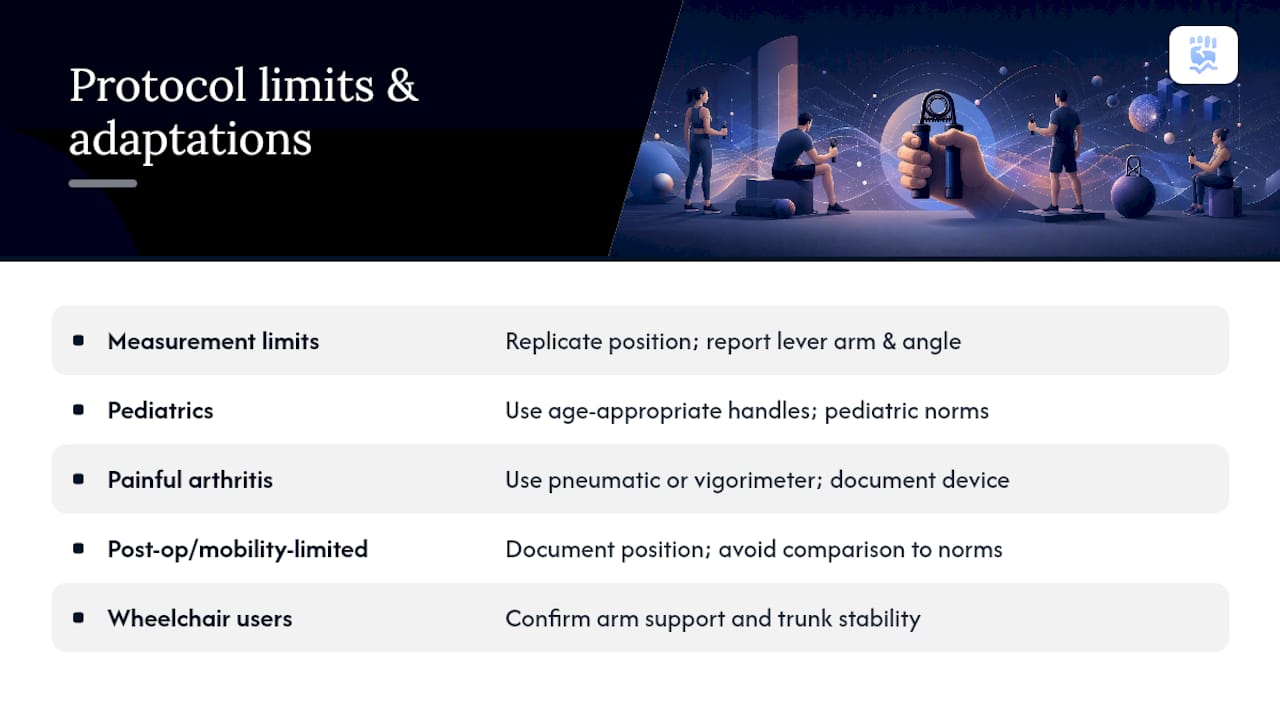
Measurement limitation: Small changes in elbow angle, shoulder rotation, or handle width can shift peak readings substantially. Rigorous position replication is required for valid longitudinal tracking. When converting force to torque, raw HHD force values must be multiplied by the measured lever arm, and joint angle must be documented. Report the lever arm length and joint angle alongside any torque-based output so the record can be reanalyzed later.
Pediatric participants: use age-appropriate handle sizes and apply pediatric normative tables. Adult norms do not transfer.
Painful arthritis: pneumatic devices or vigorimeters distribute pressure across the palm and are better tolerated than rigid handles. Document the device substitution and use device-matched norms.
Post-operative or mobility-limited participants: if the standard seated posture is not achievable, document the adapted position (e.g., supine, supported forearm) and note it explicitly in the record. Do not compare adapted-posture values against standard-posture norms.
Wheelchair users: confirm arm support and trunk stability before testing. Lack of trunk support can reduce recorded force independently of hand strength.
In all cases, the adaptation itself becomes part of the metadata. A value collected under a modified protocol is still useful for within-participant tracking, provided the same adaptation is applied consistently.
What the Dexdia Team has learned from standardizing grip assessment
Across the clinics and performance programs that have adopted structured grip-strength workflows, the single most consistent finding is that measurement variance drops sharply once device metadata is captured automatically rather than entered manually. When tester ID, calibration date, and handle position are logged by the device and app rather than written on a paper form, session-to-session discrepancies become traceable. That traceability is what turns a grip-strength number into a longitudinal signal worth acting on. Practitioners looking to implement these protocols will find Dexdia's printable normative charts and device documentation useful starting points for clinic onboarding.
The DEXDIA GX supports the full measurement workflow
The DEXDIA GX grip strength tester is a Bluetooth-enabled strain-gauge dynamometer built for the protocol described in this article. It logs device ID, firmware version, handle position, and calibration metadata automatically through its companion app, eliminating the manual transcription step that introduces most longitudinal errors. Raw trial values export as CSV for EMR integration or research archiving, and built-in normalization utilities compute height²-normalized Fmax and symmetry scores immediately after each session.
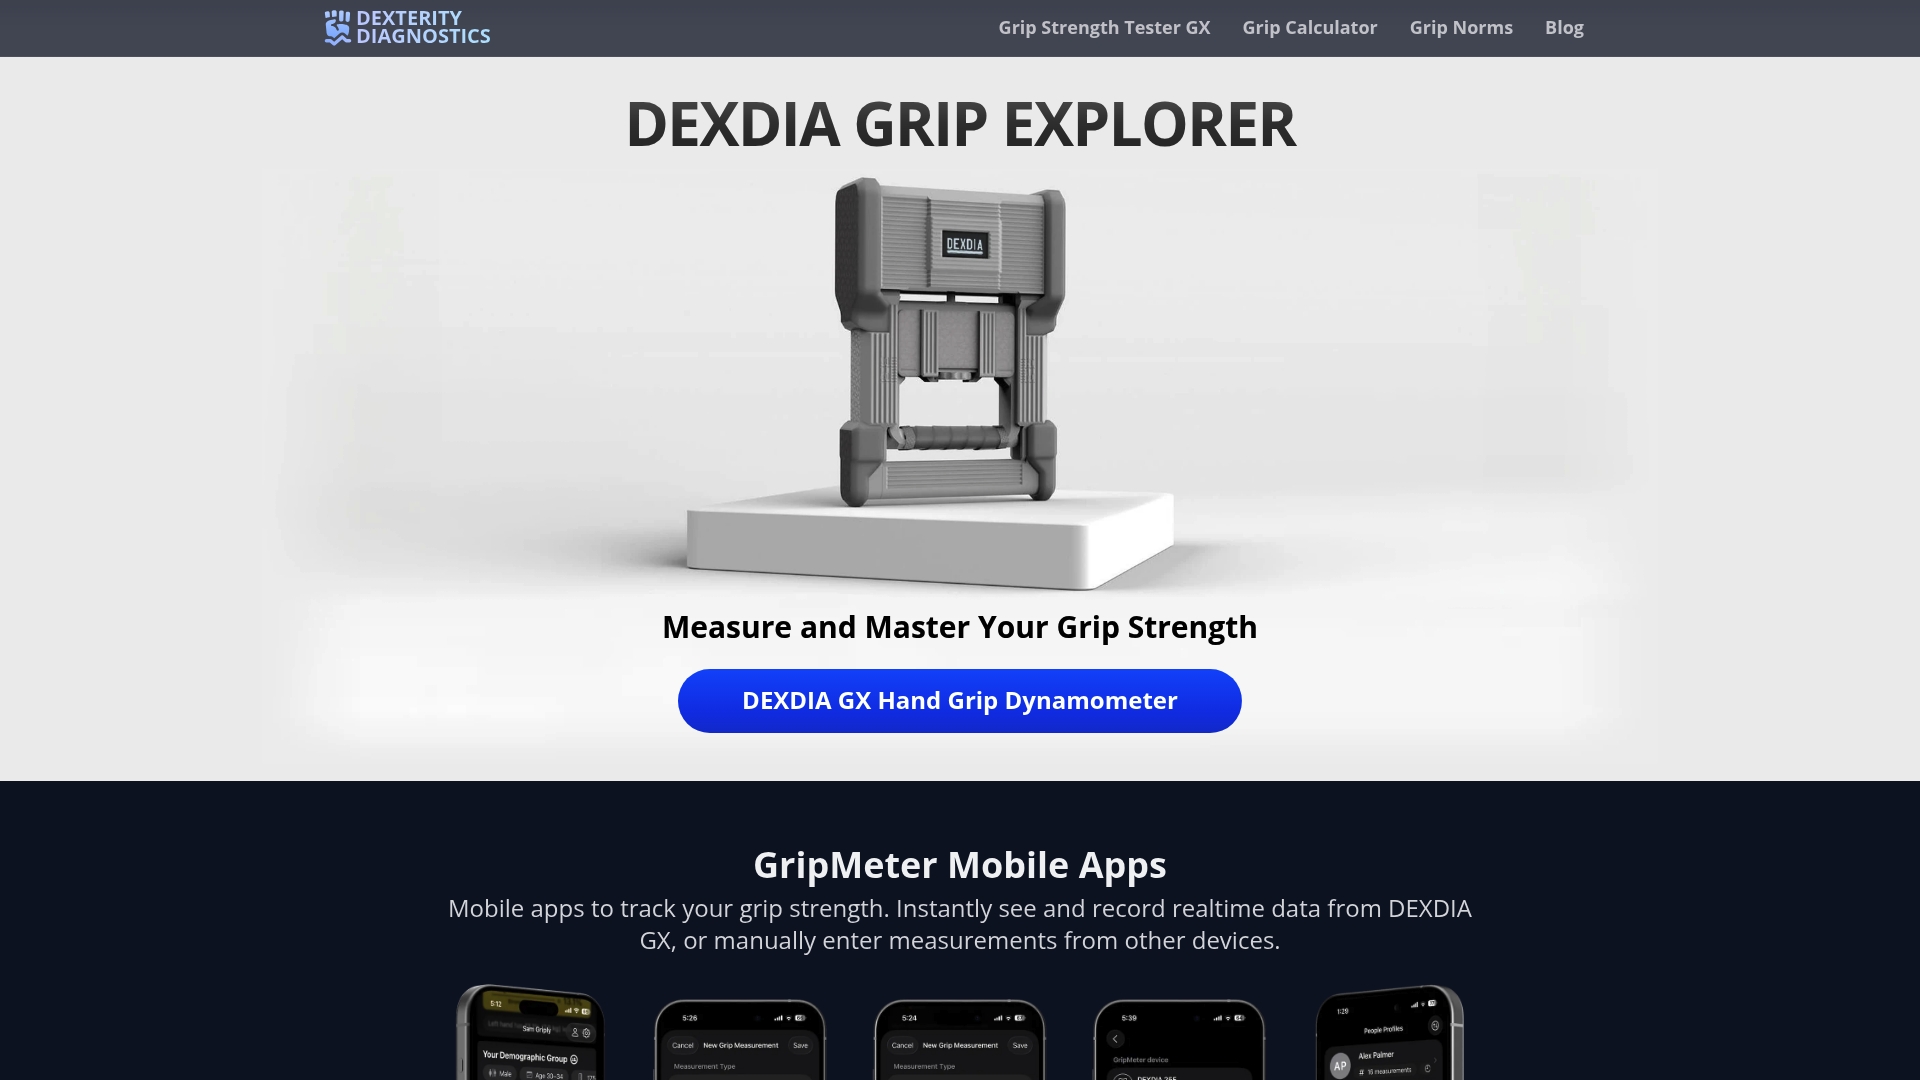
For practitioners who want immediate percentile outputs from raw trial data, the grip strength calculator handles normalization and percentile lookup without additional software. Dexdia tools are performance and assessment instruments, not regulated medical devices. Confirm device suitability for your specific clinical context at Dexdia.
Sources
The following references underpin the protocol and interpretation guidance in this article.
- Hand‑Grip Strength: Normative Reference Values and Equations for Individuals 18 to 85 Years of Age | Journal of Orthopaedic & Sports Physical Therapy
- Sensors (MDPI) — dynamic force profiling insight
- Validity and reliability of handgrip strength dynamometers and testing protocols (research commons — Waikato)
- Standardization of grip strength measurements. Effects on repeatability and peak force | Journal of Rehabilitation Medicine
- NHANES / CDC — Handgrip Muscle Strength procedures and reference reporting
- Reference values for adult grip strength measured with a Jamar dynamometer: a descriptive meta-analysis
- ACSM guidance — handgrip strength normalized for body size
- International norms for handgrip strength — large pooled meta-analysis (ScienceDirect)