
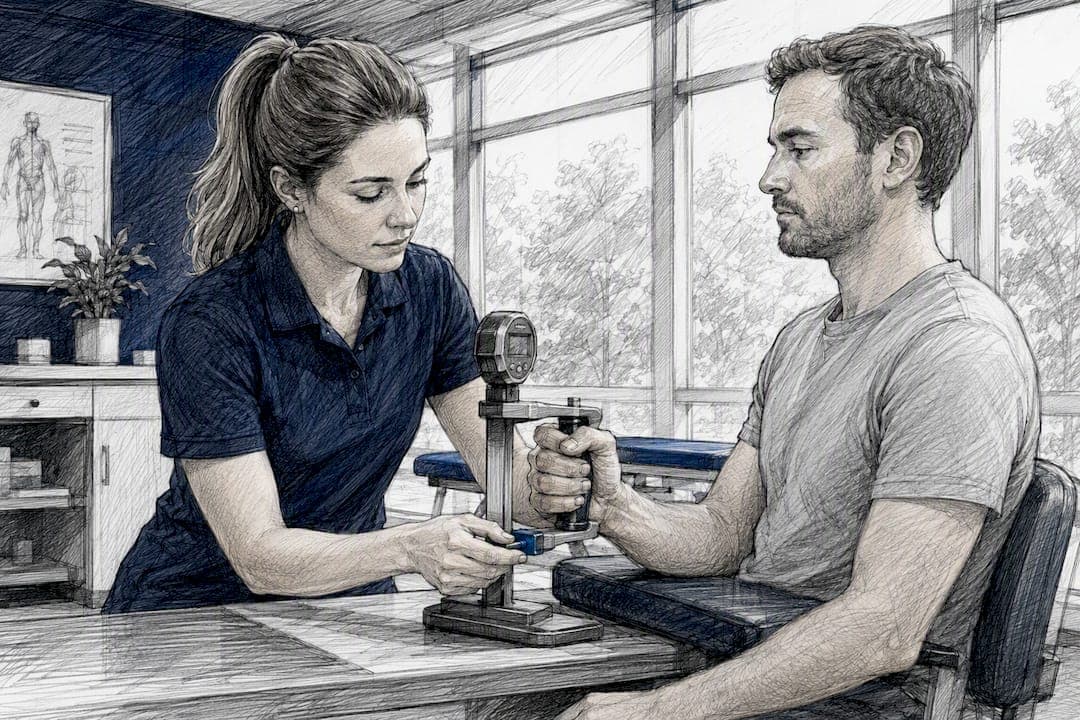
Use a calibrated dynamometer set to the second handle position, seat the patient with the elbow at 90 degrees, take three trials per hand, and record the numeric value with units, hand tested, position, and an effort note. That single sentence covers the minimum standard most hand therapy and rehabilitation protocols converge on, and it's the baseline every clinic should be charting against today.
Grip strength documentation only has value when it's comparable. A number scribbled as "grip WNL" or "hand strength decreased" tells the next clinician nothing they can act on. A number recorded as "Right: 28.4 kg, mean of 3 trials, second handle position, seated, elbow 90°, no pain reported" tells them everything they need to track change over time, flag asymmetry, or justify a coding decision.
The minimum documentation fields to capture at every visit:
- Date and time of test
- Device model (and confirmation it's calibrated)
- Hand tested (right, left, or both)
- Numeric value with units (kilograms or pounds, stated explicitly)
- Scoring method used (mean of three trials or highest single trial)
- Handle position or rung setting
- Patient position (seated or standing, elbow angle)
- Effort or pain notes (sincerity of effort, reported discomfort)
- Tester initials
Pro Tip: Store the raw values from all three trials, not just the average. If you only save the mean, you lose the ability to catch inconsistent effort or a fatiguing pattern across trials, both of which show up in the raw numbers, not the summary score.
These parameters align with the NHANES National Youth Fitness Survey grip strength protocol and the testing standards published by the American Society of Hand Therapists and American Society for Surgery of the Hand, both of which specify the second handle position and averaging of three trials as the reference method. Clinics that want to move beyond paper logs can use tools like the DEXDIA GX to capture trial-by-trial data digitally and compare results against published norms automatically.
Key Takeaways
Standardized grip strength documentation requires a calibrated dynamometer, the second handle position, three trials per hand, and discrete numeric fields with units, position, and effort notes recorded every time.
| Point | Details |
|---|---|
| Use the second handle position | Adjust the handle unless a specific clinical reason requires a different setting, and document any deviation. |
| Record three trials per hand | Take three trials, alternate hands, and store all raw values, not just the mean. |
| Capture discrete EMR fields | Structure fields like hand, trial values, position, and effort flags so data feeds flowsheets and audits. |
| Flag meaningful asymmetry | A difference greater than 10 to 15 percent between hands, or progressive decline, warrants a documented note. |
| Consider Dexdia for digital capture | The DEXDIA GX and grip calculator automate trial averaging and normative comparison for clinics standardizing this workflow. |
Table of Contents
- Grip Strength Testing Protocol: Equipment, Setup, and Trial Sequencing
- Documenting Grip Strength in the EMR: Fields, Templates, and Flowsheets
- Scoring and Interpreting Grip Strength Against Normative Data
- Common Pitfalls That Undermine Reliable Grip Data
- Why Standardized Protocols Come From NHANES and ASHT
- Reliability Between Testers and Across Repeated Sessions
- Preparing Patients and Recognizing When Not to Test
- What We've Learned From Clinics That Standardize This Process
- Capturing Grip Data Digitally With Dexdia
- Sources
Grip Strength Testing Protocol: Equipment, Setup, and Trial Sequencing
A reliable grip strength test depends less on the dynamometer's price tag and more on whether every tester in your clinic runs the exact same sequence, every time. Variability between testers is the single biggest threat to trustworthy serial data, and it's almost entirely preventable with a written protocol.
Equipment checklist and calibration
Before testing anyone, confirm the dynamometer reads zero with no load applied and matches a known reference weight if your device supports calibration checks. Hydraulic dynamometers, the most common type in hand therapy clinics, should be calibrated at minimum annually, and more frequently in high-volume clinics where the device sees daily use. Log the calibration date somewhere retrievable, because an uncalibrated device invalidates every measurement taken on it, retroactively.
Setting the handle position
Adjust the handle to the second position from the base for adult patients unless a specific clinical reason justifies a different setting, such as a very small hand or a contracture that prevents a full grip. This position places the second joint of the index finger at an angle near 90 degrees when the handle is squeezed, which optimizes leverage and helps keep results comparable to published norms. If you deviate from the second position for any patient, document why. Reviewing grip size selection guidance before testing patients with unusually large or small hands helps avoid this becoming a guessing game at the bedside.
Patient positioning
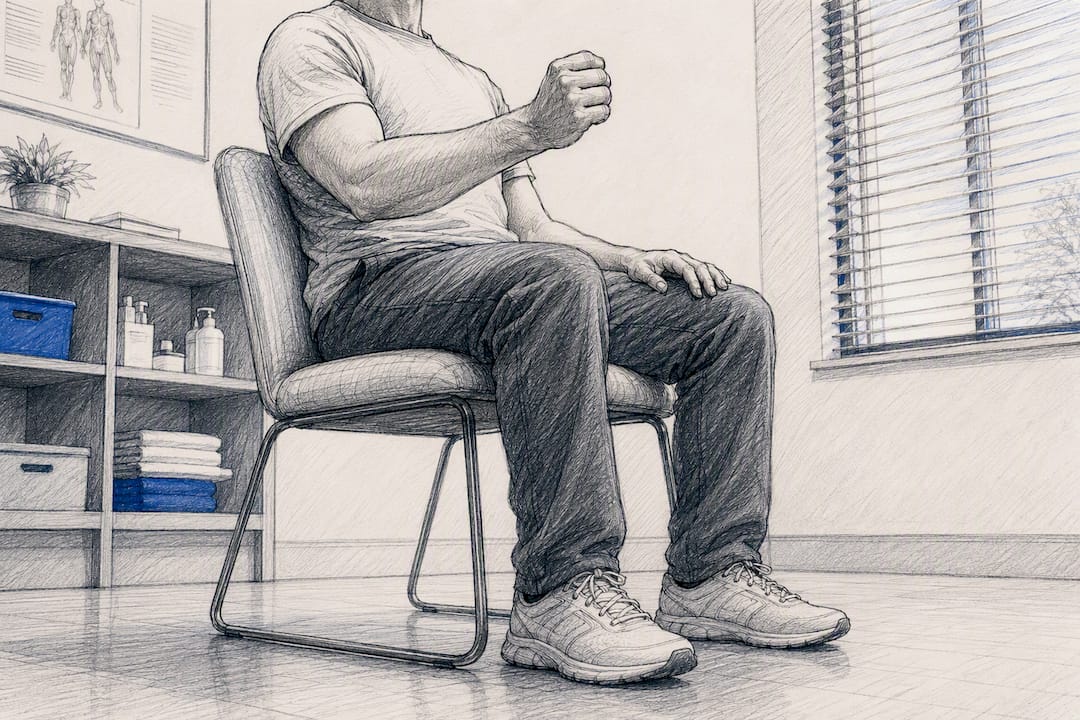
Seat the patient in a chair with no armrests, feet flat on the floor, shoulder adducted and neutrally rotated. The elbow stays flexed at 90 degrees, and the wrist sits in a neutral position to 30 degrees of extension. This posture isn't arbitrary. Changing the elbow or wrist angle changes the mechanical advantage of the forearm flexors, which means a patient tested standing with an extended arm will not produce a number comparable to one tested seated with a flexed elbow, even if their actual strength hasn't changed at all. Standing testing is acceptable when clinically necessary, but note the position every time, since mixing positions across visits corrupts your trend data.
Scripted instructions and practice trial
Give every patient the same verbal cue before testing. A version used widely in clinical protocols: "Squeeze as hard as you can for three to five seconds, and then relax." Run one practice trial at submaximal effort so the patient understands the mechanics before the recorded trials begin. Skipping the practice trial is a common source of an artificially low first reading, since patients often ease into the movement rather than committing to full effort right away.
Trial sequencing and timing
- Alternate hands between trials rather than testing one hand three times in a row, which reduces the effect of fatigue accumulating in a single limb.
- Instruct a maximal squeeze held for 3 to 5 seconds per trial.
- Rest between 15 and 60 seconds between trials, depending on your clinic's protocol. The NHANES procedures use a 60-second rest window between trials on the same hand.
- Complete three trials per hand.
- Record every trial value, not just the final number you plan to report.
Special circumstances
Patients reporting acute pain, recent surgery, or significant range-of-motion limitation may need modified positioning or single-hand testing only. Document any deviation from standard setup explicitly. A grip test on a hand with limited finger flexion still produces useful trend data, but only if you note the limitation so future comparisons account for it rather than misreading a low score as pure weakness.
Documenting Grip Strength in the EMR: Fields, Templates, and Flowsheets
The difference between grip strength as a data point and grip strength as a sentence buried in a progress note comes down to whether your EMR captures it as discrete fields. Free text is searchable by no one and trendable by nothing. Discrete fields feed flowsheets, trigger alerts, and survive an audit.
Recommended discrete fields
Build these as structured fields rather than narrative text wherever your EMR allows custom templates or smart forms:
test_date_timedevice_modelcalibration_datehand(right/left/bilateral)trial_1,trial_2,trial_3(raw values)recorded_score(mean or highest, specified)units(kg or lb)position(seated/standing, elbow angle)handle_rungeffort_flag(full effort, submaximal, inconsistent)pain_flagtester_id
Specialized EMR modules built for hand therapy increasingly support this exact structure, with auto-averaging and normative comparison built into the grip and pinch workflow, which cuts documentation time compared to typing out three trial values and a mean by hand for every visit.
A smartphrase you can paste today
For a standard bilateral test, a compact smartphrase might read:
"Grip strength tested using [device], second handle position, seated, elbow 90°. R: [trial1]/[trial2]/[trial3] kg, mean [X] kg ([Y]% expected for age/sex). L: [trial1]/[trial2]/[trial3] kg, mean [X] kg ([Y]% expected). Effort: full/consistent across trials. No pain reported."
Bracket the variable fields so front-line staff fill in numbers without rewriting the template each time.
Flowsheet design for longitudinal tracking
| Field | Why It Matters |
|---|---|
| Date, hand, mean score | Enables trend graphing across visits without manual chart review |
| Percent of expected | Lets a clinician spot decline even when the raw number looks stable |
| Effort/pain flags | Flags visits where a low score reflects effort, not true strength change |
| Tester ID | Supports inter-rater reliability audits if numbers drift unexpectedly |
Coding support
Objective grip data can support documentation of age-related physical debility and generalized weakness. One clinic-level review found that implementing routine grip strength screening in outpatient vascular clinics increased documentation of ICD-10 R54 (age-related physical debility) among screened patients among screened patients. That's a substantial jump, and it illustrates how an objective number in the chart, rather than a subjective impression, gives coders and reviewers something concrete to point to.
Scoring and Interpreting Grip Strength Against Normative Data
The number itself only matters in context. Recording "24 kg" means little without knowing what's expected for that patient's age, sex, and dominant hand.
Most protocols default to the mean of three trials as the recorded score, since averaging smooths out one anomalous squeeze, whether from a warm-up effect or a momentary distraction. Some clinical situations favor reporting the maximal trial instead, particularly in sports performance contexts where peak output is the variable of interest. Whichever method you choose, document it explicitly and stay consistent for that patient across visits. Mixing mean-of-three with highest-single-trial on the same patient over time makes trend lines meaningless.
Using normative tables
Reference datasets like those published through NHANES, and consolidated tools such as the Dexdia grip strength calculator, let you convert a raw kilogram value into a percent-of-expected figure based on age and sex. A 68-year-old woman testing at 18 kg isn't automatically "weak" in the abstract, but she may be well below the expected range for her demographic, and that percentage is what makes the number clinically actionable rather than just descriptive.
Asymmetry and flags worth documenting
- Greater than 10 to 15 percent difference between dominant and non-dominant hand strength, beyond what's expected for handedness, warrants a note and possible follow-up.
- Progressive decline across visits, even within normal range, deserves flagging before the value drops below a clinical cutoff.
- Absolute scores below age/sex norms on their own may prompt referral for hand therapy review or further workup, particularly when paired with functional complaints.
A sample interpretation phrase for a chart note: "Right grip strength 22 kg, 72% of expected for age and sex, greater than 15% right-to-left asymmetry. Consider hand therapy referral or further evaluation if asymmetry persists." That single sentence does more clinical work than a paragraph of vague description, and it's built entirely from numbers you already recorded.
Caveats worth remembering
Device differences matter. A hydraulic dynamometer and a different model won't necessarily produce identical readings on the same patient, which is one more reason to record the device model with every test. Unit conversion errors between kilograms and pounds are a quieter but real risk. Rounding differences during conversion can shift a percent-of-expected calculation just enough to cross a clinical cutpoint, so it's worth storing the raw value and unit and letting software handle conversions rather than converting by hand and re-entering a rounded number.
Common Pitfalls That Undermine Reliable Grip Data
Most bad grip strength data isn't caused by a bad dynamometer. It's caused by small, avoidable inconsistencies in how the test gets administered.
- Inconsistent positioning across visits. A patient tested seated in January and standing in June will show an apparent change that has nothing to do with actual strength.
- Visual feedback during the squeeze. Letting a patient watch the dial or digital readout in real time can cause them to consciously moderate their effort, especially if a prior score set an expectation.
- Uncalibrated or worn devices. Hydraulic units drift over time, and a dynamometer that hasn't been checked in over a year can quietly produce numbers that no longer mean what they used to.
- Wrong handle size for the patient's hand. Forcing a very small or very large hand into the standard second position without adjustment produces an artificially low reading that reflects grip mechanics, not weakness.
Spotting low effort or inconsistent testing
Watch for trial values that bounce erratically rather than showing the normal pattern of a strong first trial with slight fatigue on the second and third. A patient who scores 30, 12, and 28 kg across three trials isn't demonstrating fluctuating strength. That pattern usually signals inconsistent effort, and it belongs in the chart as an effort flag rather than an accurate strength value.
Pro Tip: If trial values vary by more than roughly 20 percent from the highest to lowest reading on the same hand, flag the test as inconsistent effort rather than averaging blindly and reporting a number that doesn't represent true capacity.
Delegating testing to trained support staff works well, but only if they've been trained on the exact same script and positioning as your credentialed clinicians. Test at a consistent time of day when possible, since grip strength can vary slightly with fatigue and time since the last meal. When results seem inconsistent with the clinical picture, repeat the test on a different day before charting a definitive decline.
Why Standardized Protocols Come From NHANES and ASHT
The recommendations in this article aren't arbitrary. They trace back to two overlapping sources that most rehabilitation professionals already recognize as authoritative.
The NHANES National Youth Fitness Survey procedures manual lays out a complete field protocol: grip-size adjustment so the second finger joint sits near 90 degrees, a practice trial before recorded testing, three trials per hand with rest intervals, and randomized hand order to control for order effects. It's built for population-level data collection, which is exactly why it produces numbers comparable across thousands of patients and, by extension, comparable to your own clinic's results.
The American Society of Hand Therapists and American Society for Surgery of the Hand converge on closely related testing standards: second handle position, standardized seated posture, and averaging three trials as the reported score. These recommendations predate most EMR systems in use today, and they remain the reference point that most published norms are built against.
A body of peer-reviewed literature consistently links lower grip strength to higher rates of morbidity and mortality, which is the underlying reason routine grip documentation carries clinical weight well beyond hand or forearm function alone.
That association, detailed in a systematic review of grip strength and health outcomes, is what elevates grip strength from a hand therapy metric to a broader marker worth tracking across rehabilitation and geriatric care. Dexdia builds tools to help clinicians operationalize this protocol consistently, and it's worth stating plainly: these are performance measurement tools, not diagnostic medical devices, and they don't replace clinical judgment or a physician's evaluation.
Reliability Between Testers and Across Repeated Sessions
Inter-rater reliability, meaning how closely two different testers agree when measuring the same patient, depends almost entirely on whether both testers follow an identical script for positioning, verbal instructions, and trial timing. Two therapists using the same dynamometer but different handle positions or different rest intervals will produce numbers that aren't truly comparable, even though both followed a reasonable protocol individually.
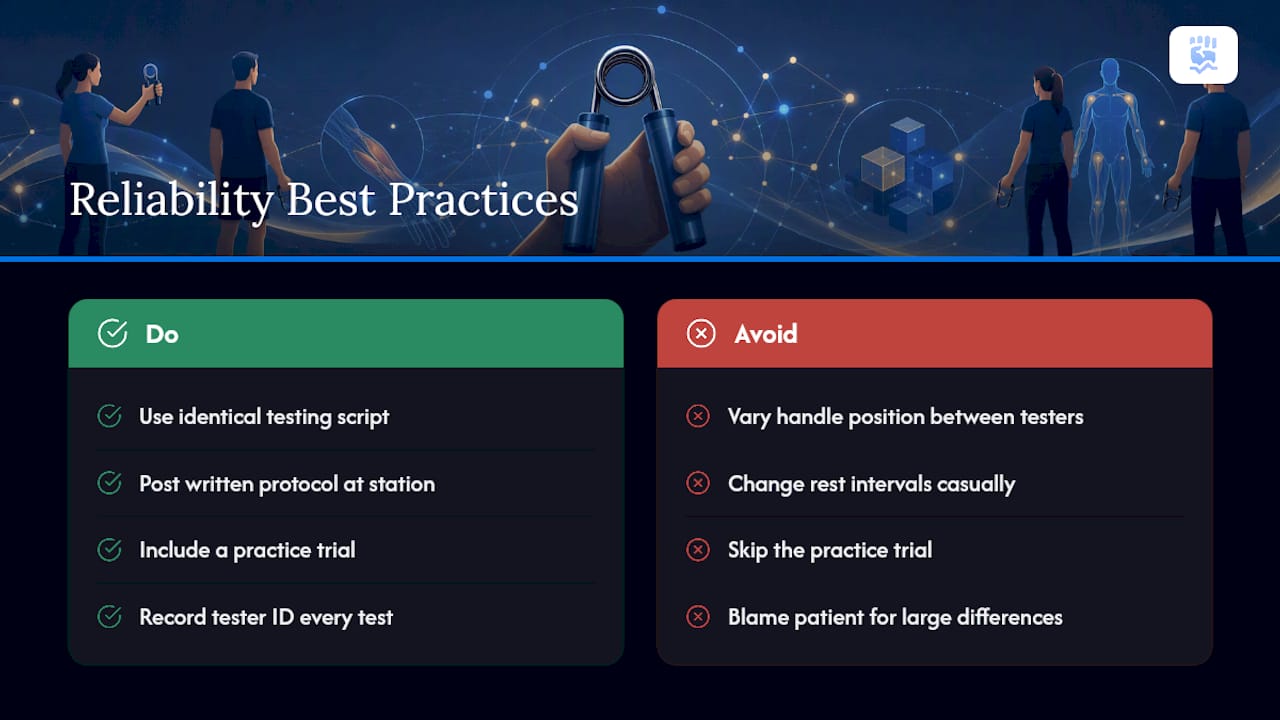
Intra-rater reliability, the consistency of one tester's results across repeated sessions, tends to be higher than inter-rater agreement, but it still drifts if a clinician gets casual about positioning over time or starts skipping the practice trial to save a minute. A written protocol posted at the testing station, rather than relying on memory, meaningfully reduces this drift.
Clinics running multiple testers should periodically check agreement by having two staff members test the same patient within a short window and comparing results. Differences larger than what you'd expect from normal trial-to-trial variation point to a training gap, not a patient problem. Documenting which tester performed each assessment, via the tester ID field, makes this kind of audit possible after the fact rather than requiring you to catch inconsistencies in real time.
Preparing Patients and Recognizing When Not to Test
Ask patients to avoid vigorous upper-extremity exercise for at least a few hours before testing, since fatigue from a prior workout or heavy lifting will suppress the score independent of baseline strength. Confirm the patient isn't currently in acute pain that would make a maximal squeeze unsafe or unreliable, and note any recent hand or wrist surgery, fracture, or injection that might affect the result.
Contraindications worth screening for include recent hand or wrist surgery within the surgeon's restricted healing window, acute fractures or dislocations, significant unhealed wounds on the palm or fingers, and severe acute pain that would make a maximal contraction unsafe. Patients with tremor, significant joint deformity from arthritis, or neurological conditions affecting grasp can still be tested, but document the condition alongside the score so future readers understand why the number may sit outside typical norms.
When in doubt, a lower-effort submaximal trial with a clear note explaining why is far more useful than either skipping the test entirely or forcing a maximal effort that risks aggravating an existing injury. The goal is a trustworthy number, not a number at any cost.
What We've Learned From Clinics That Standardize This Process
Clinics that move grip strength from a free-text mention to a structured, repeatable measurement tend to notice the shift in two places: cleaner trend data for patients over multiple visits, and better-supported documentation when weakness or functional decline needs to be coded. The vascular clinic data on R54 coding increases isn't an isolated curiosity. It reflects a broader pattern where objective, discrete numbers give clinicians something concrete to point to that a vague clinical impression never could.
The biggest lesson from watching this protocol get adopted is that consistency beats sophistication. A clinic with a basic dynamometer and a strict written script produces more useful longitudinal data than one with premium equipment and no standardized process. We'd encourage any rehabilitation team still charting grip strength as narrative text to pilot a structured template, even a simple one, before investing in anything more elaborate.
— Dexdia Team
Capturing Grip Data Digitally With Dexdia
Manually logging trial values, calculating means, and cross-referencing normative tables by hand works, but it's slow, and slow processes get skipped during a busy clinic day. The DEXDIA GX connects via Bluetooth to a companion app that captures each trial automatically, calculates the mean or highest value depending on your protocol, and compares results against published norms without a separate lookup step.
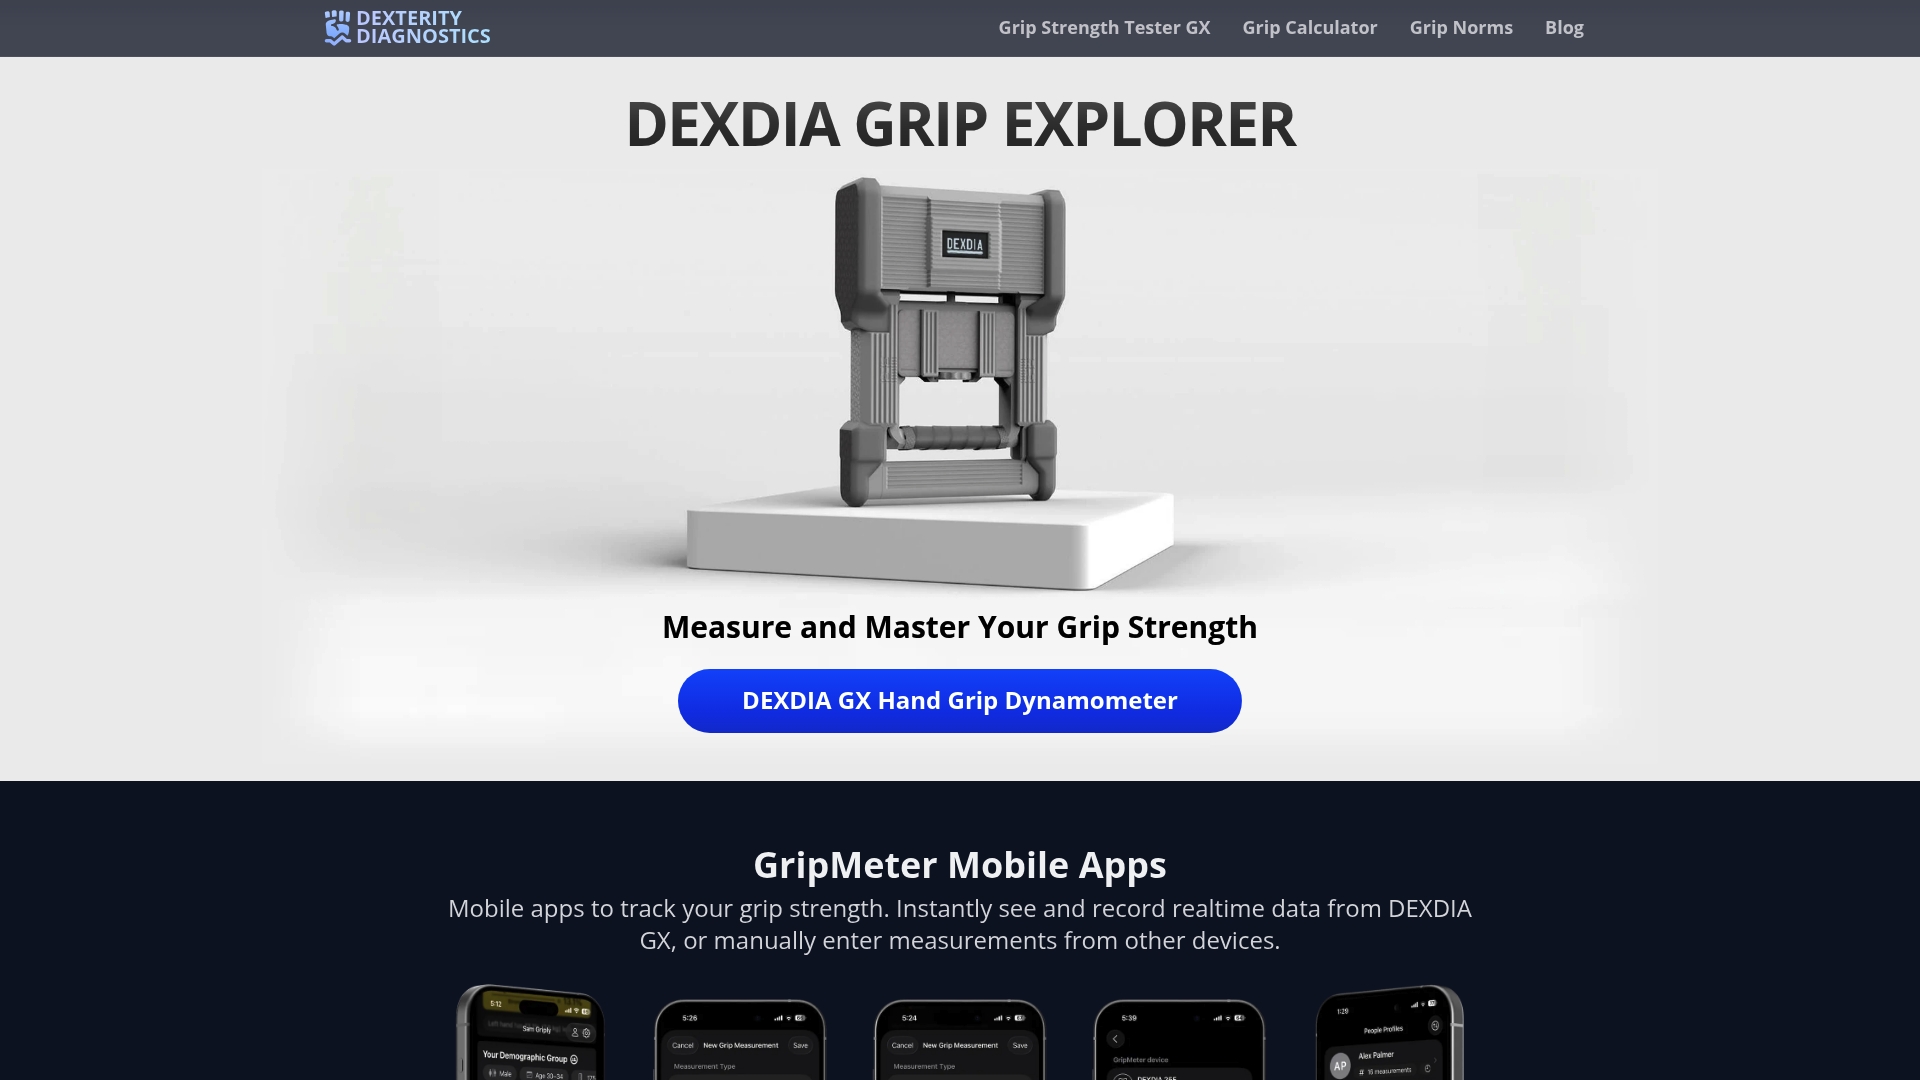
The device supports configurable handle positions matching the second-position standard described earlier, unit selection between kilograms and pounds, and a built-in practice trial mode so the full protocol, from warm-up squeeze to third recorded trial, happens in one continuous session. Results export as CSV files, which maps directly onto the discrete EMR fields this article recommends rather than requiring a re-typing step. For quick reference during a visit, the grip strength calculator converts a raw value into percent-of-expected on the spot, and the printable norms give you a paper backup when a tablet isn't handy.
Dexdia's tools are built for performance measurement and tracking, not medical diagnosis, and they're not a substitute for clinical judgment. Clinics ready to standardize their grip strength workflow can start by reviewing the DEXDIA GX product page and testing the device against their current protocol.
Sources
- National Youth Fitness Survey (NYFS) Muscle Strength (Grip) Procedures Manual (July 2012)
- Grip Strength — Key recommendations for outcome evaluation (MD Systems summary of standards)
- Best EMR features for hand therapy & upper extremity rehab in 2026 — Proactive Chart